Hello, Grade 7 students and families! I’d like to formally welcome our first post from Div. 2’s ‘News Crew’. They will be periodically updating our class blog with information about projects, assignments, etc.
Below an excerpt from their overview of the clay skulls activity our class completed for Socials:
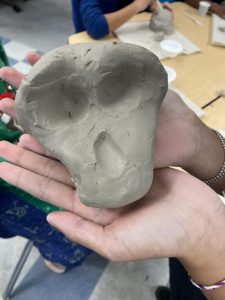
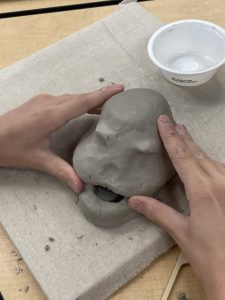
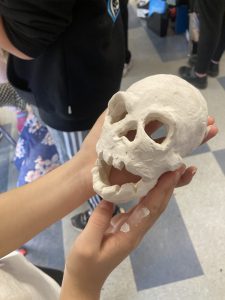
“This project was a great overview of what we learned in Socials. Creating skulls that represented our earlier ancestors. These skulls ranged from early Ardipithecus to our generation Homo sapiens. We started by using clay to put together our skulls. We needed to round out the clay and then use tools like chopsticks to help make the eyes. Ms. Jesse Lyn (our artist in residence) taught us about clay making and how ceramic is made.
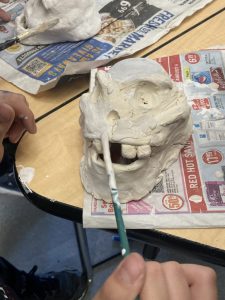
To make the ceramic skulls we first need to learn how it happens. The first material is clay which can be found at the bottom of streams and riverbanks. Then we need to model the clay like we did with our skulls. After the clay sculptures or in this case skulls, gets taken to a giant oven [kiln] that warms up between 2124’f and 2264’f (1162-1260’c). After it is done being fired it is given back to us to glaze.
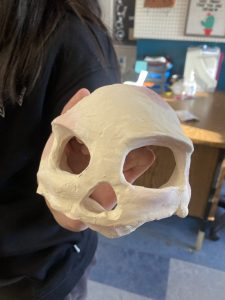
After about 2 days or so Ms. Jesse Lyn brought back out hominid pottery. As we were going to start the 2nd phase, glazing. (Please note: glazing is a pottery term of when you put color into your pottery, but it could also be the icing on a cake. The first phase is what we’re going for!).
You grab a brush of a color you think fits your skull and then you paint. There is red paint, a couple of different grays, [beige and white], and a darker color. “Why would you paint your skull red?” you might ask. Well, the reason is quite simple. When the clay gets fired the colors change drastically so when you get your skull back the red will now be a pinkish-gray. Each group took about 10 minutes, so with 5 groups the glazing took roughly 50 minutes. And so, we had to wait 2 more days. There would be a chance that you wouldn’t recognize your pottery after it was glazed, but that’s why the teachers thought ahead (like they always do from years of experience) and made us engrave our initials into the back of the skeleton’s skulls.
So, we wrapped out skeletons into some wrapping paper and brought it home. It should now be at your house and you’re staring at it while you’re reading this. Or, your kid might have lost it.”
Thanks so much, News Crew!
-Ms. Ward