We spent time during February working on a project for the biennial Arts Alive competition. This is open to elementary school classes every second year – alternate years with the secondary schools. Every year there is a set theme. This year’s theme was, “Place, Home”.
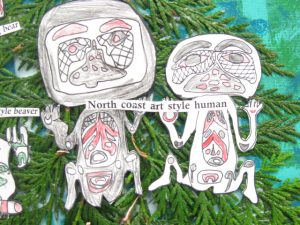
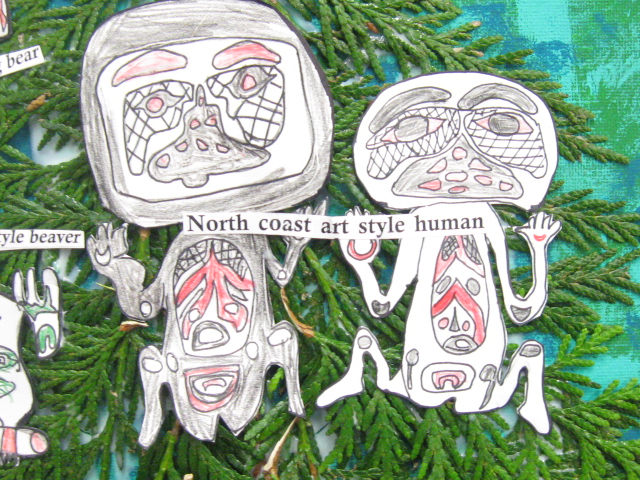
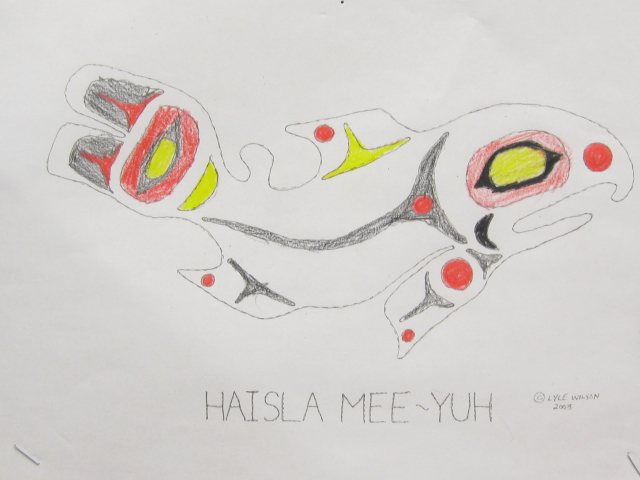
As we have been looking at aboriginal art styles this year we created a project that incorporated the coastline of our glorious province and the four different styles of aboriginal art: North Coast; Mid Coast; West Coast (outer part of Vancouver Island); and South Coast. Each of the styles have similarities and differences mainly in reference to the shapes and the colours that are used.
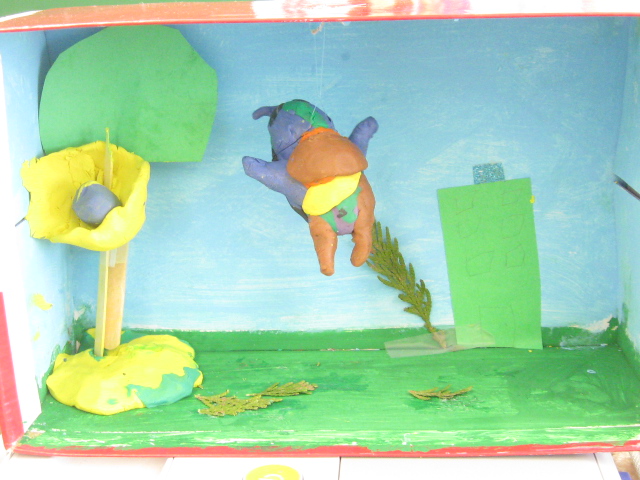
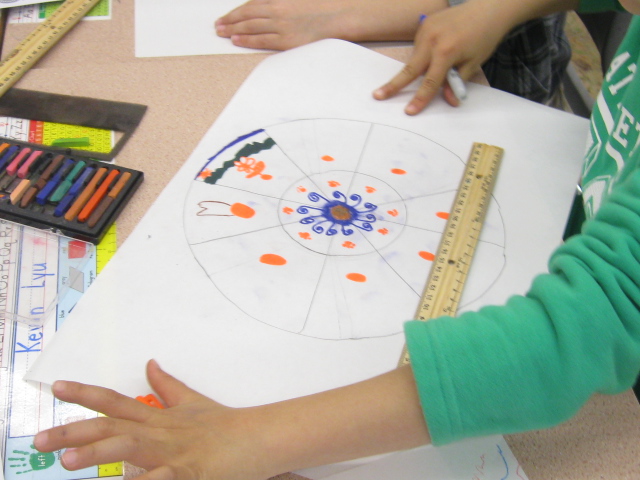
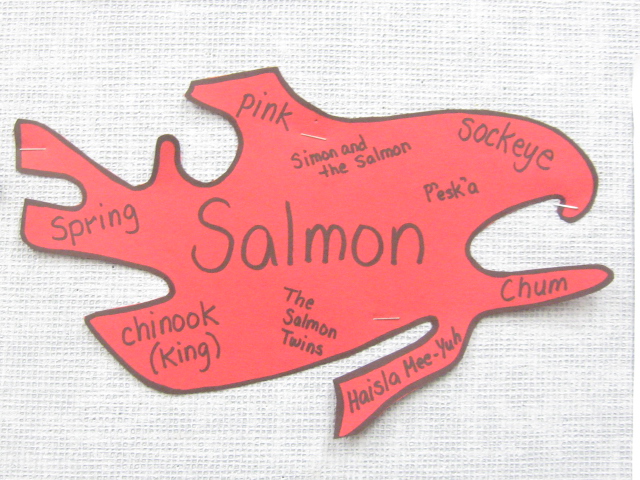
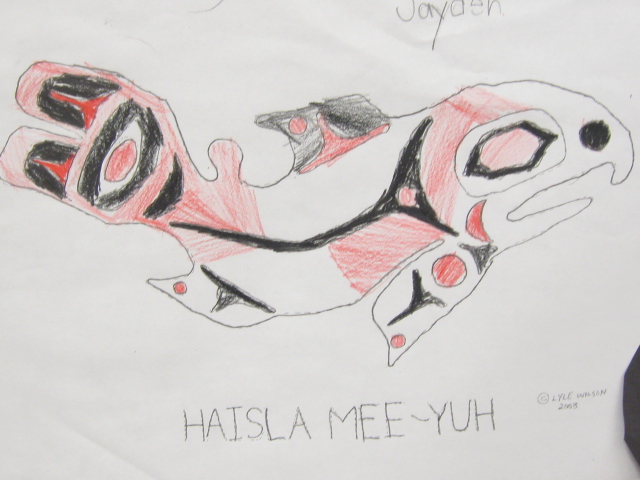
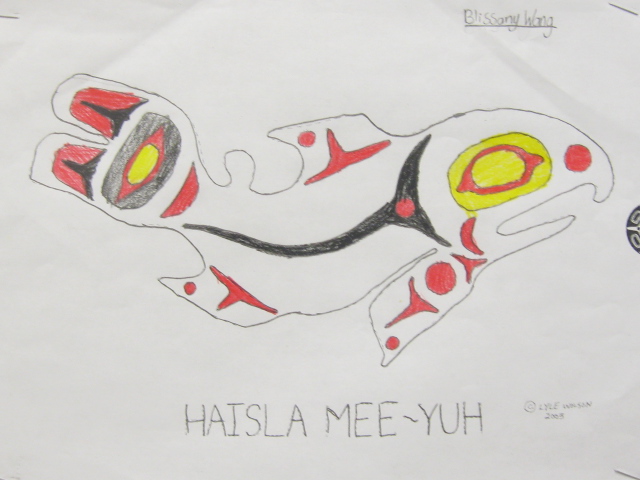
Students each chose an animal which they practised drawing on their own. They made a ‘good copy’ of it and then adorned it with the colours allowed from the style of their animal.
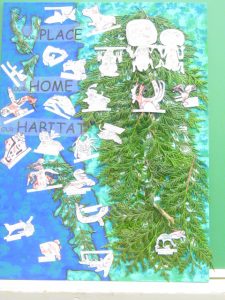
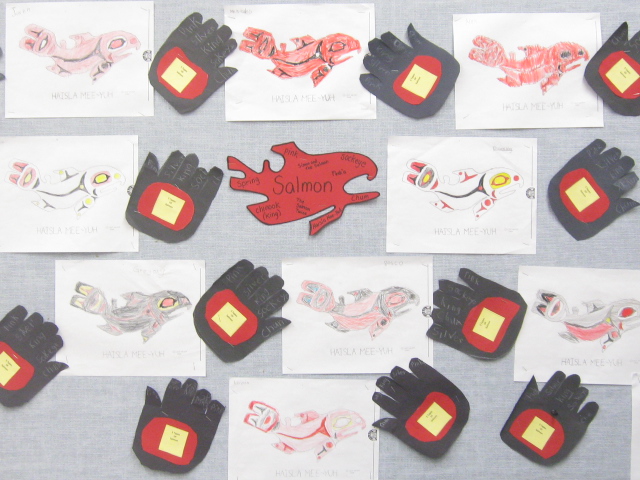
These animals were affixed to a canvas that was transformed into the coastline of BC. A variety of different students painted (base or mottled top layers), separated cedar fronds, soaked off the title labels, or created the human pictures. Cedar was chosen as a representation of how important this tree was to aboriginal peoples. All in all it was a whole class project with everyone doing something to contribute.
Normally for Arts Alive each year every student would create an individual project from class lessons about the year’s theme. The Jury Panel from the BAG comes to each school on a specific day in the final week and a few of the individual projects would be chosen to be taken to the Burnaby Art Gallery for their annual exhibition. This year we were asked to do a whole class project with the idea that most, if not all, of the participating classes would have their project taken.
At Rosser our class, along with Divisions 1 and 2, participated this year. The Jury Panel came on February 28th and each of the three divisions had their projects taken back to the Burnaby Art Gallery. These collected works will be put on display for the Annual Exhibition.
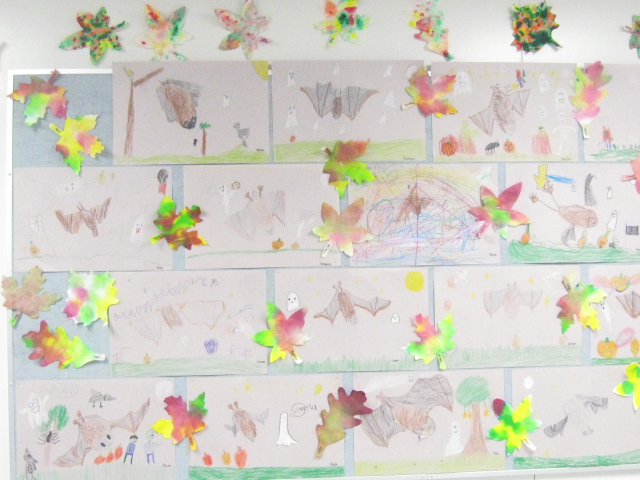
The Opening Night for this exhibition will be on Thursday, April 13th at 6:00 p.m. I will be there and I hope some of you can come to see the students’ great work. The picture here doesn’t really show how great the individual animal pictures are – so seeing them in real life would be best:)


