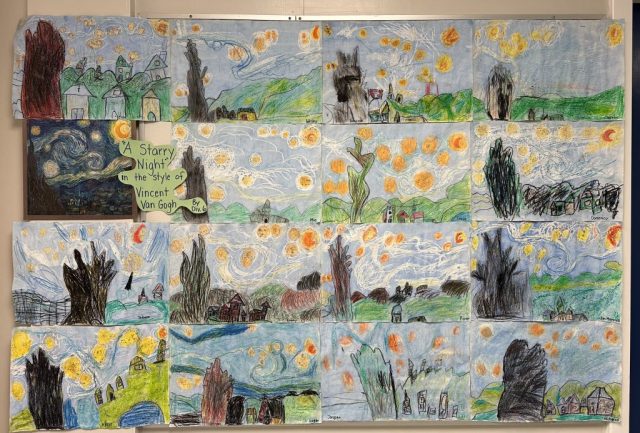
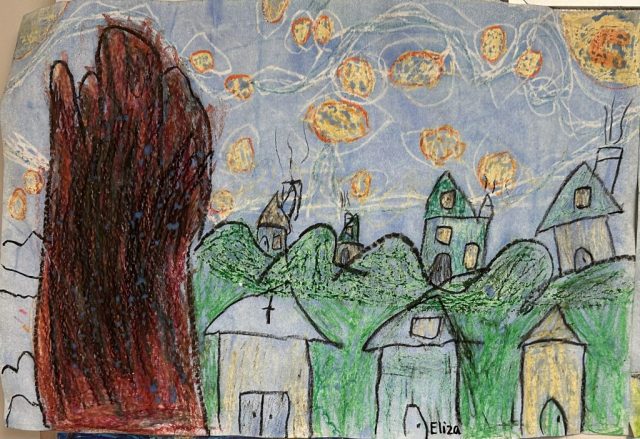
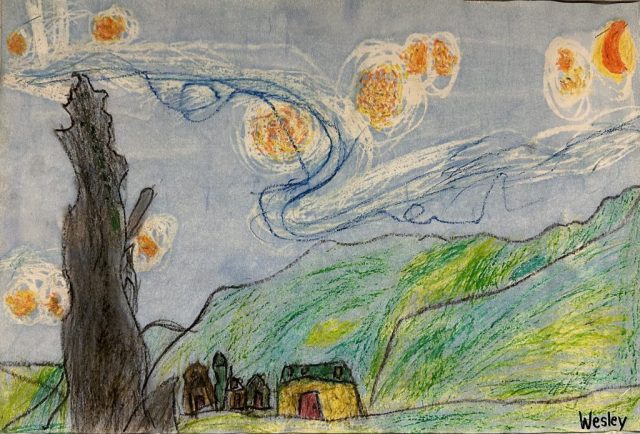
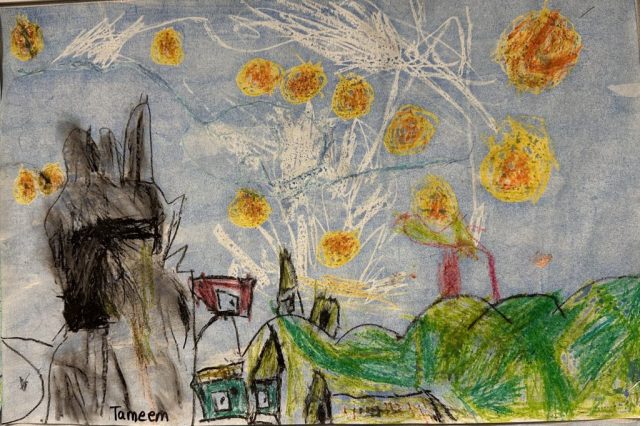
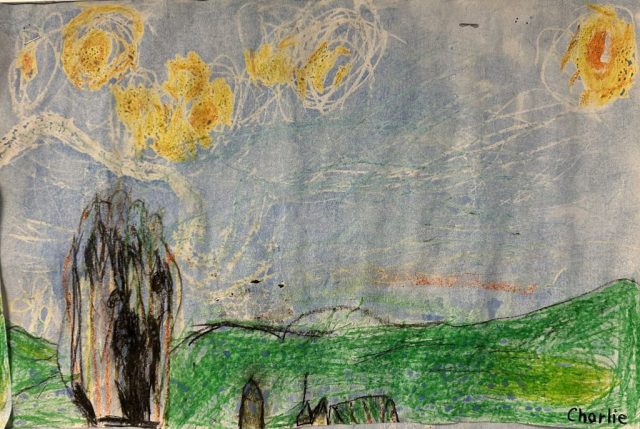
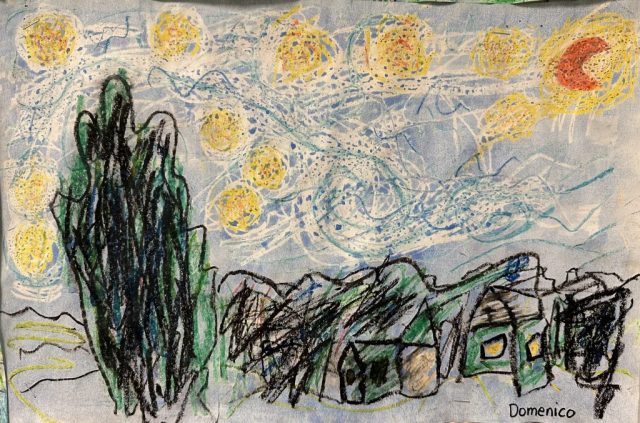
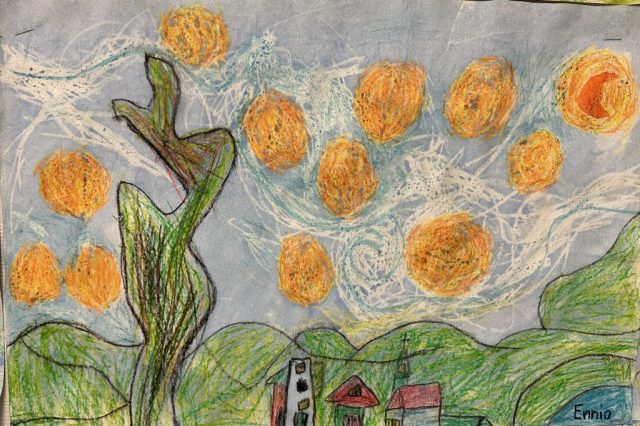
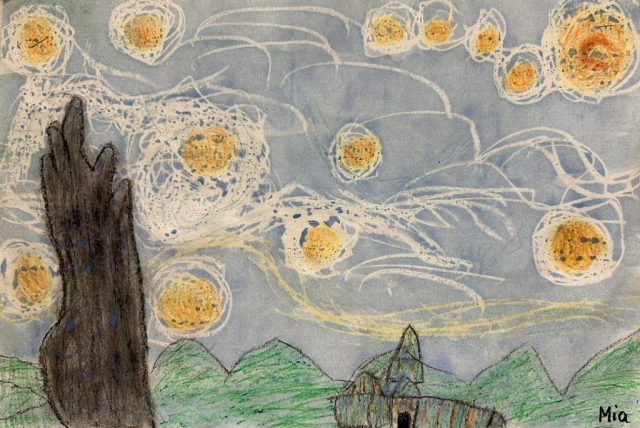
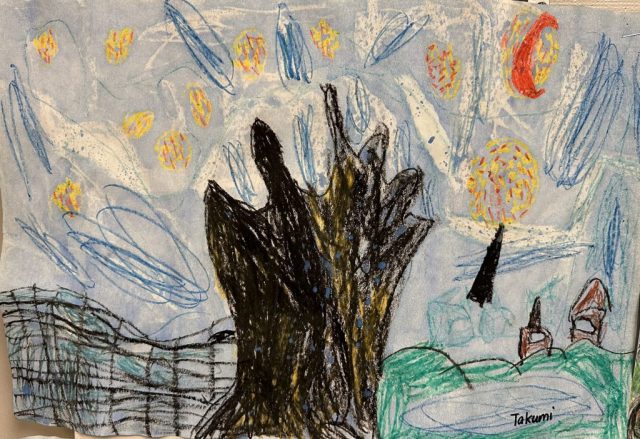
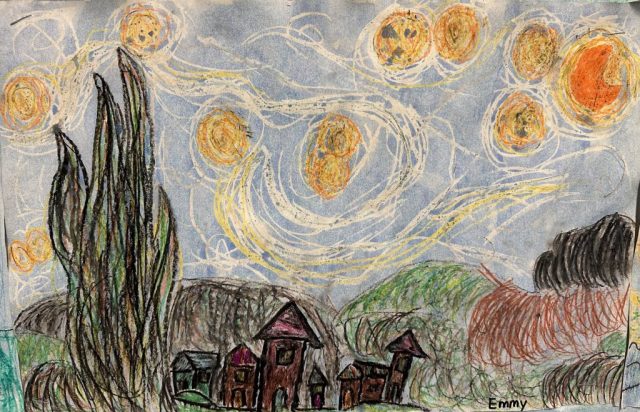
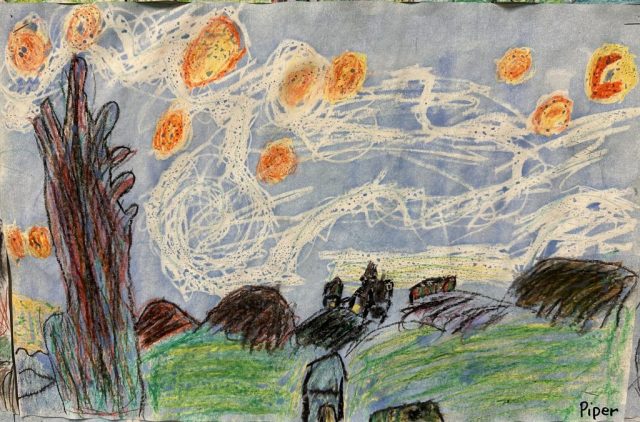
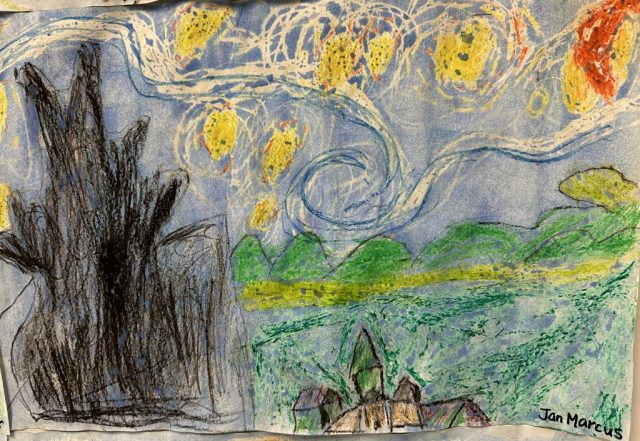
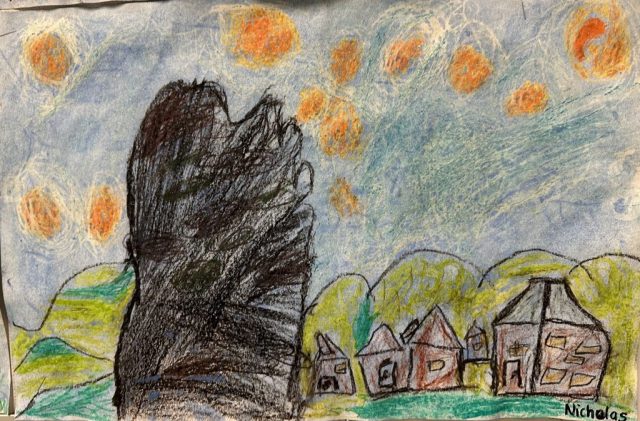
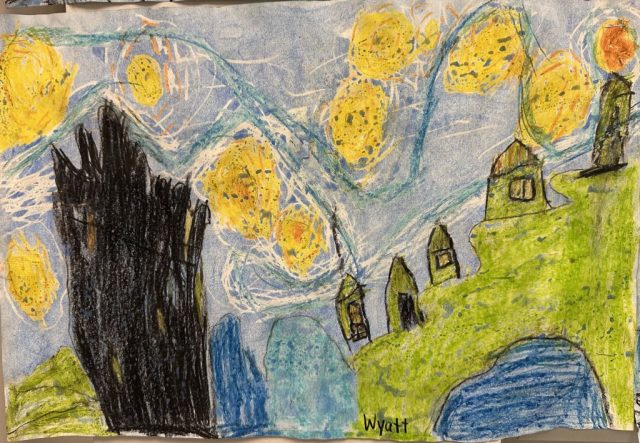
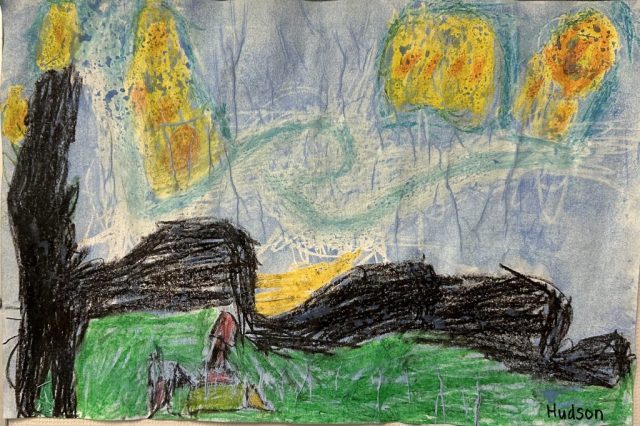
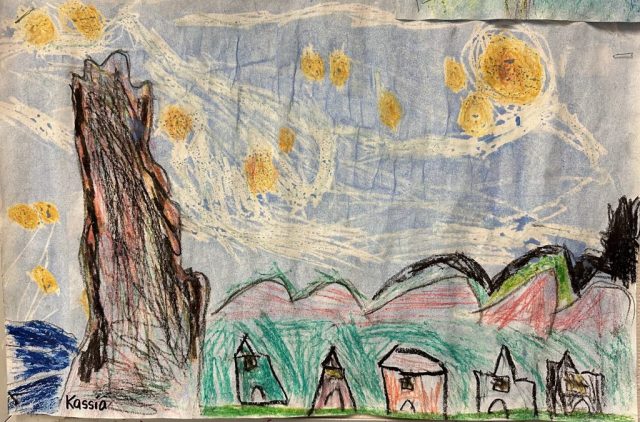
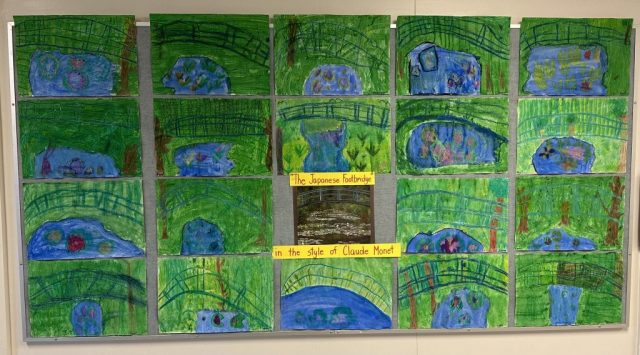
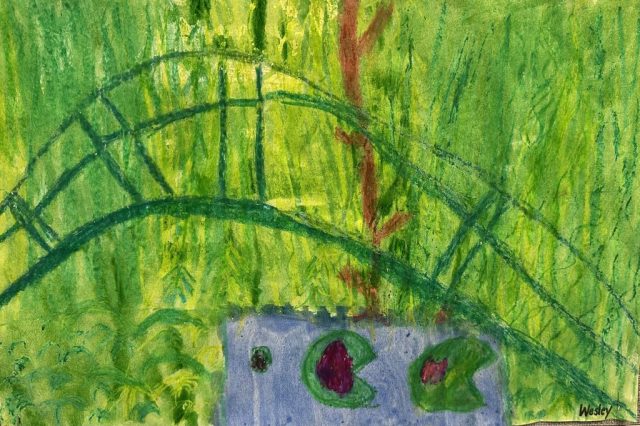
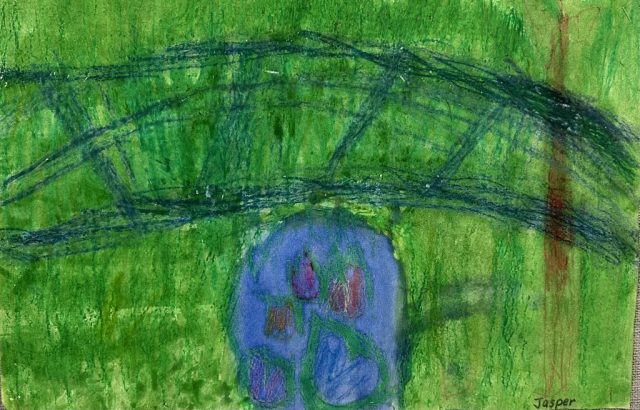
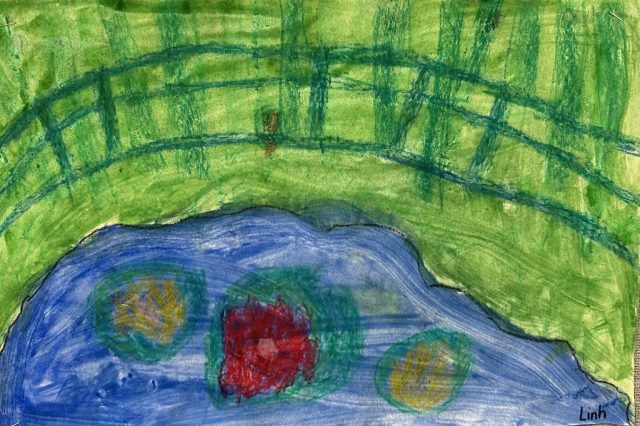
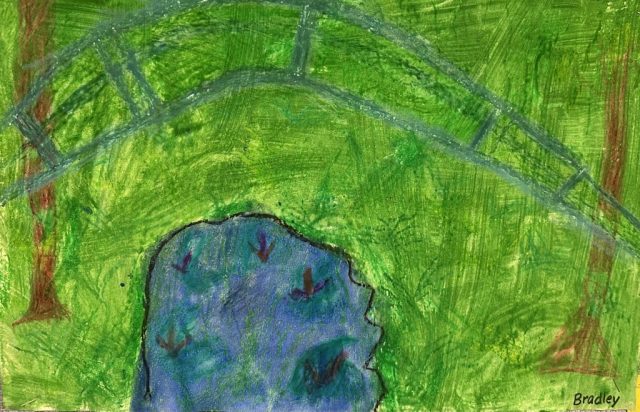
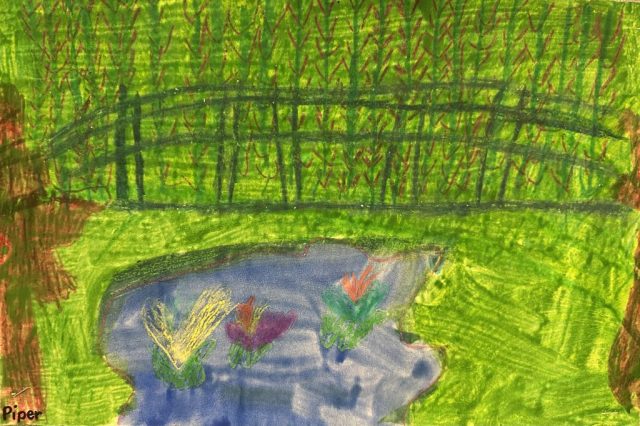
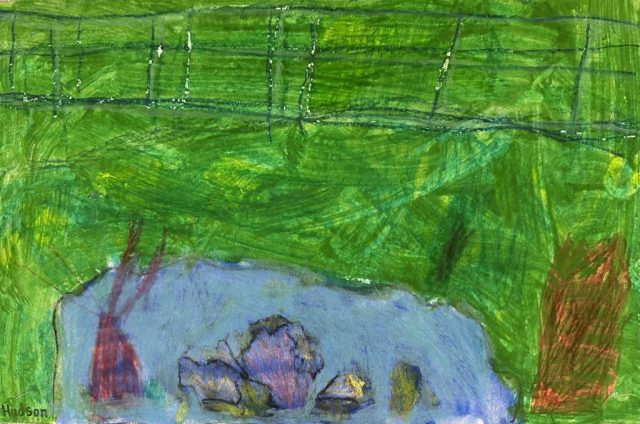
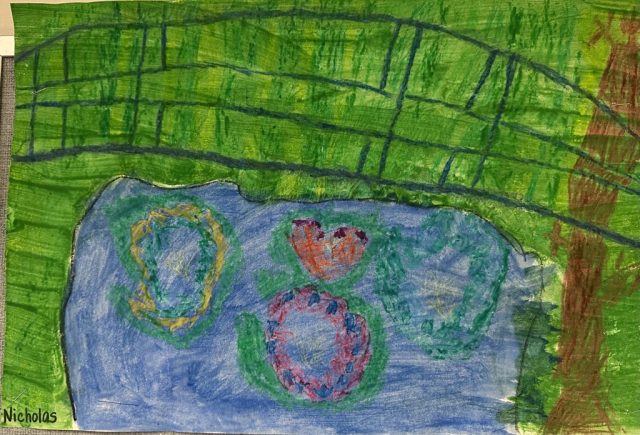
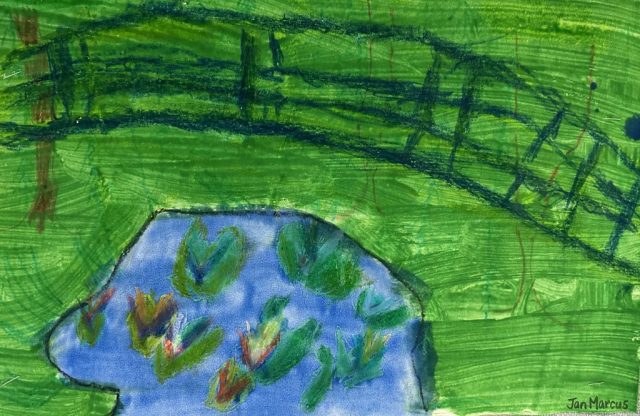
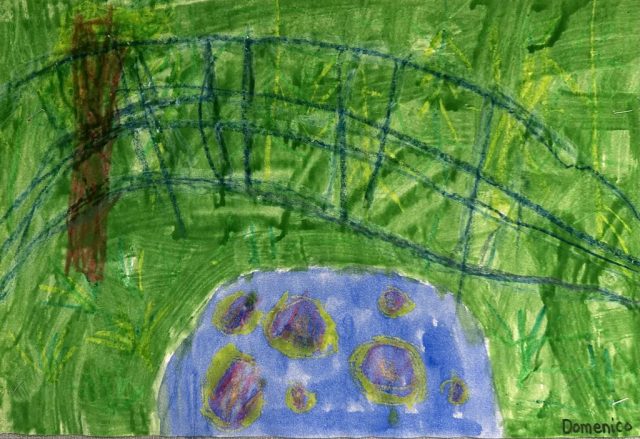
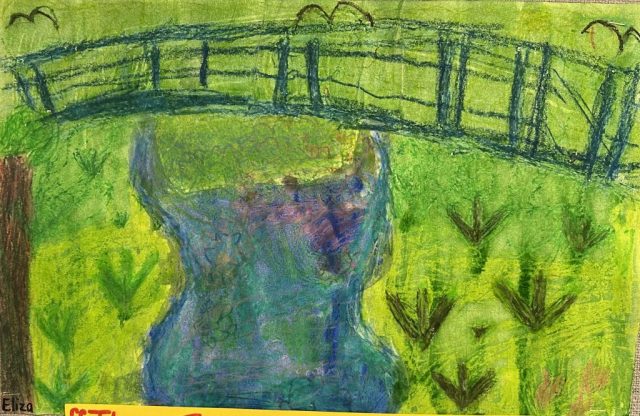
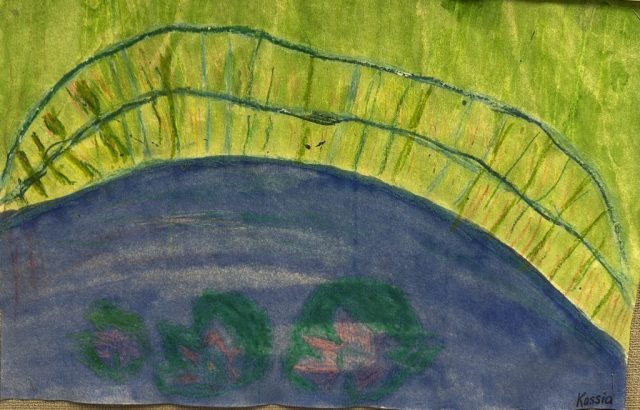
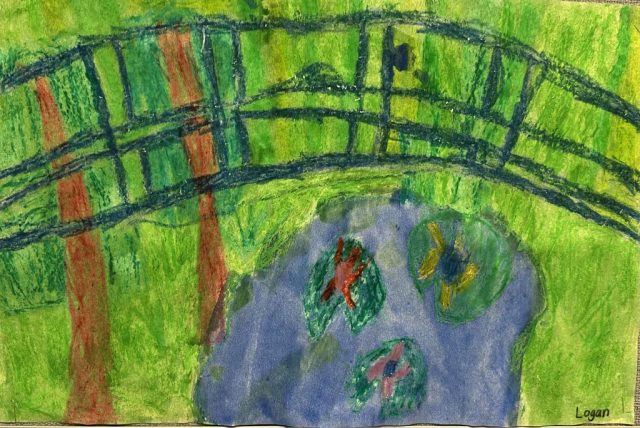
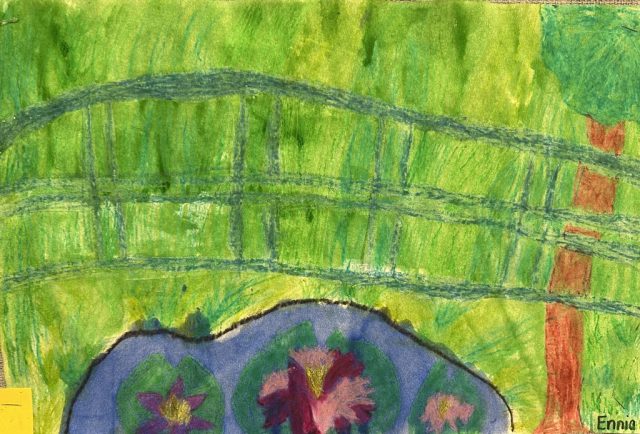
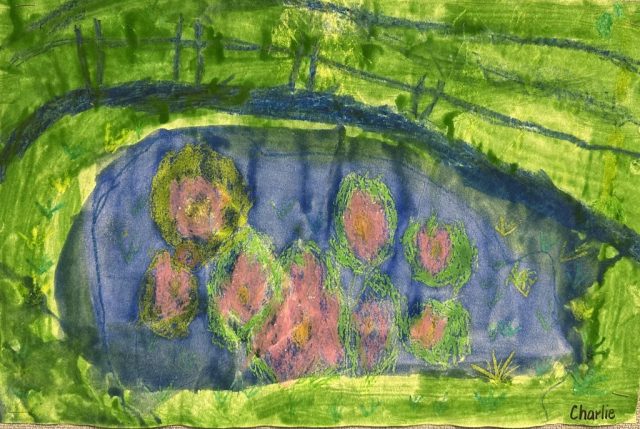
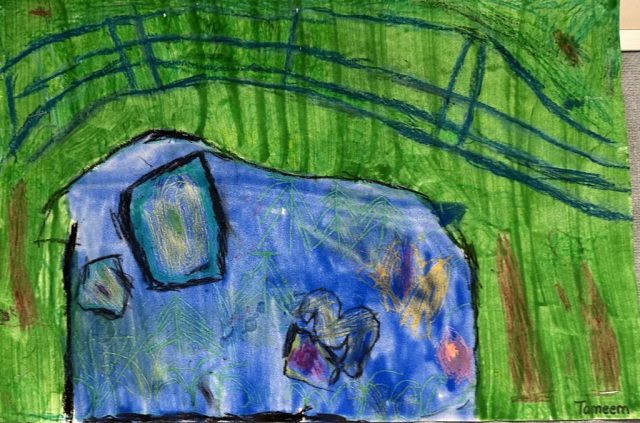
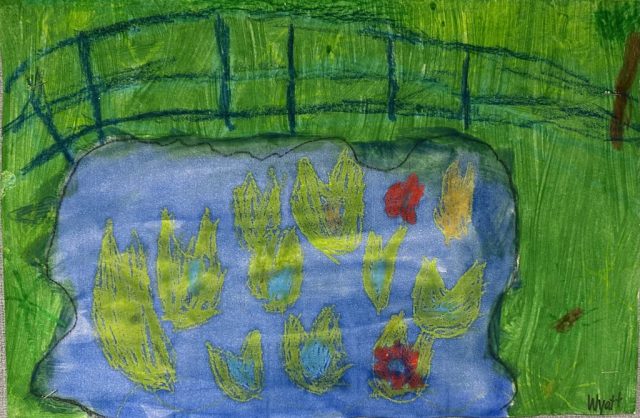
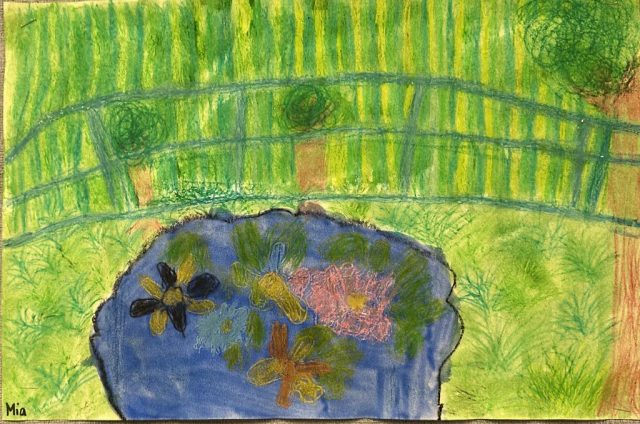
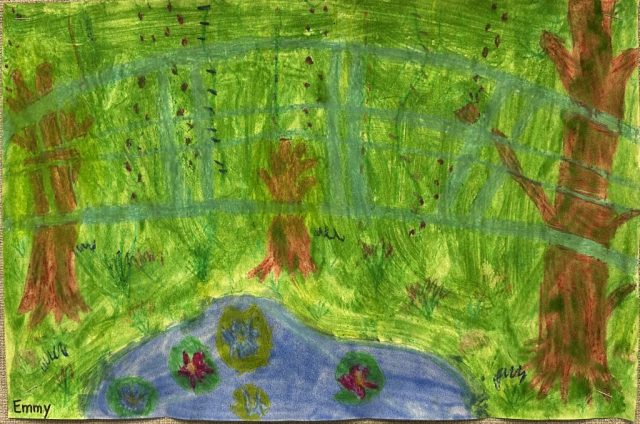
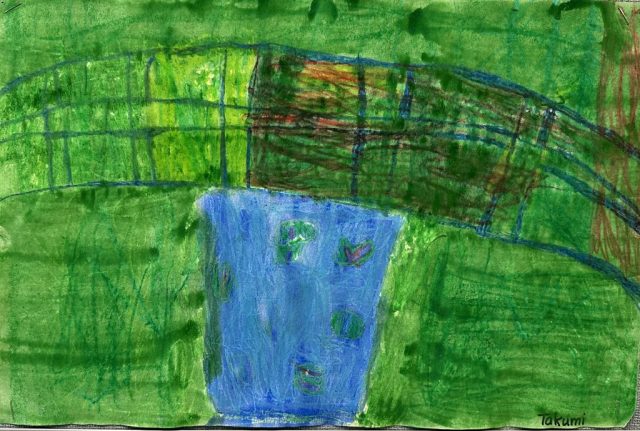
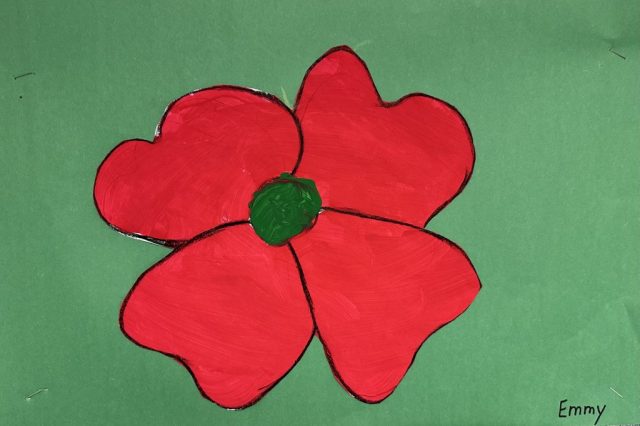
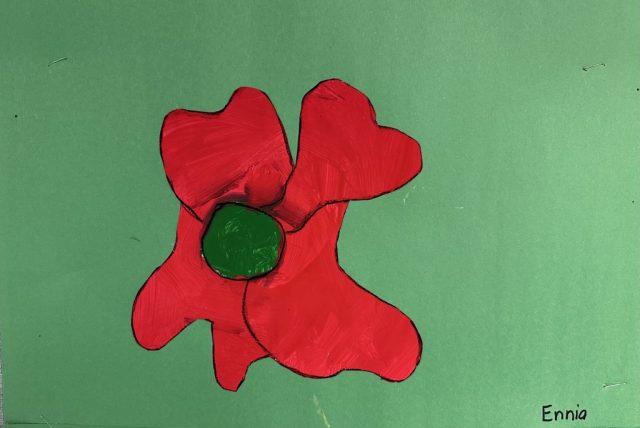
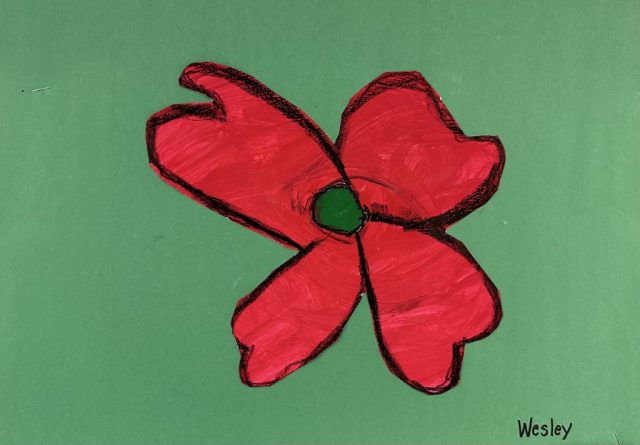
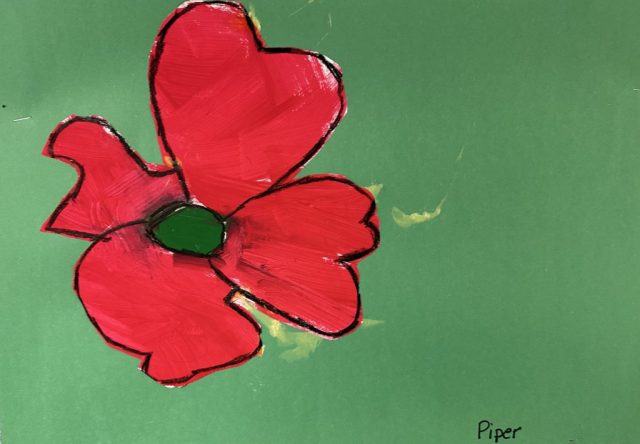
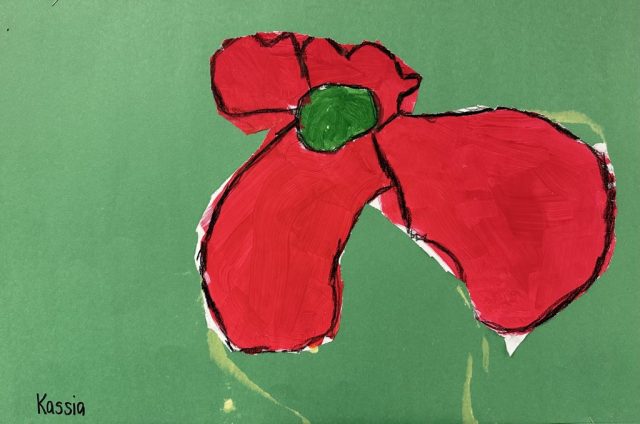
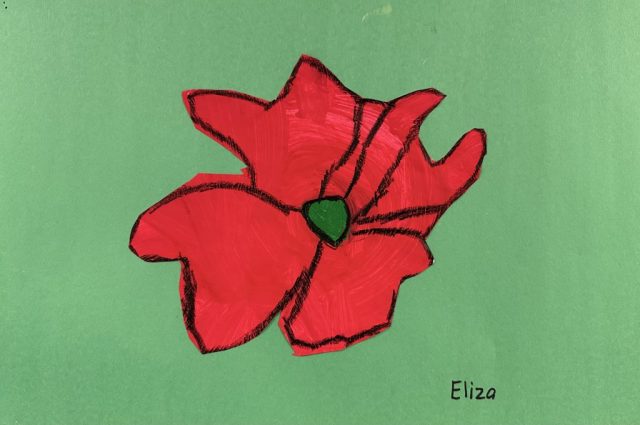
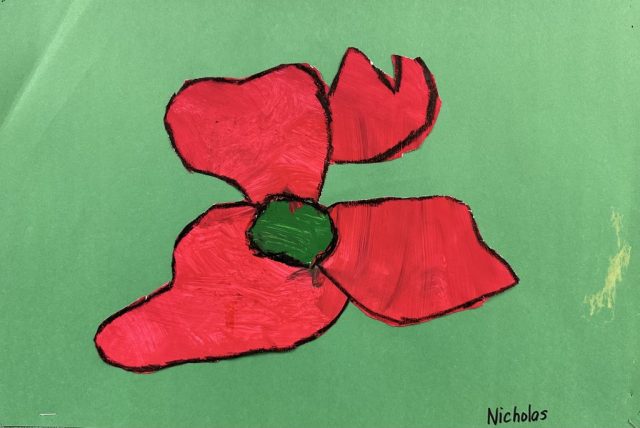
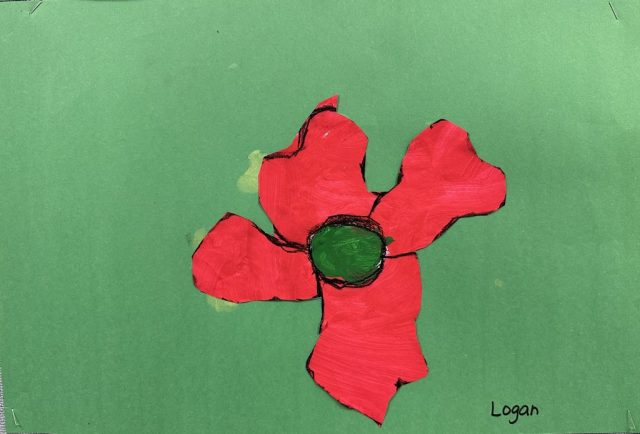
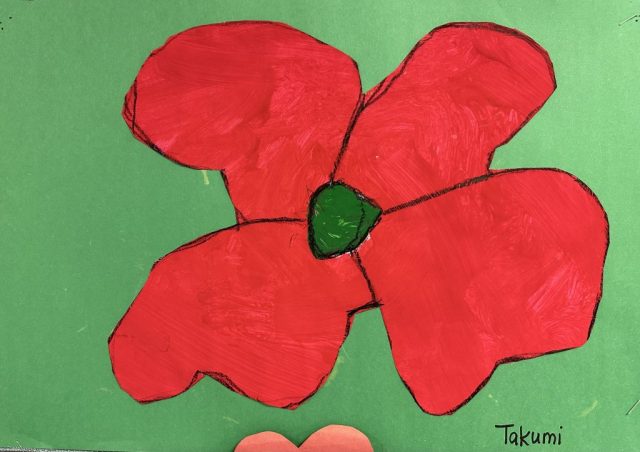
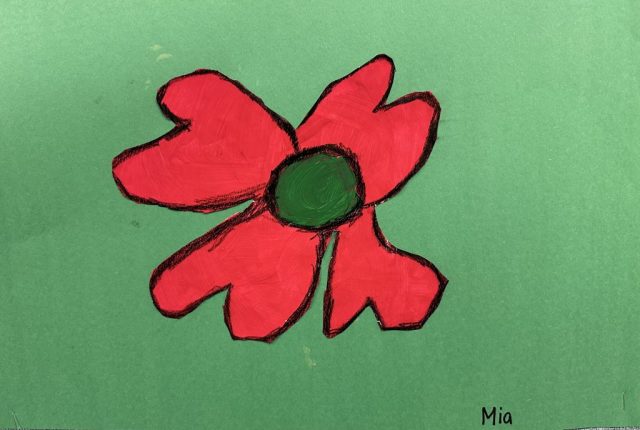
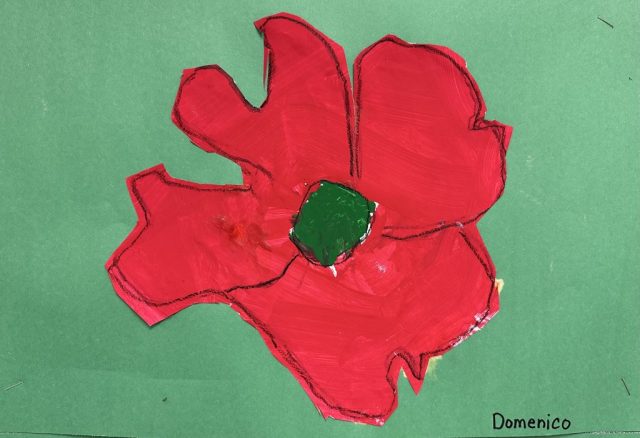
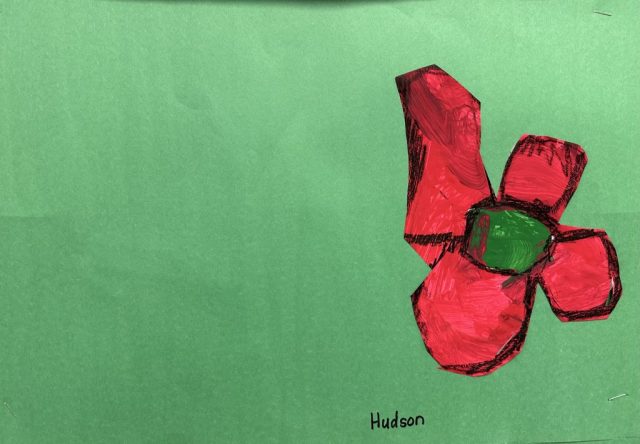
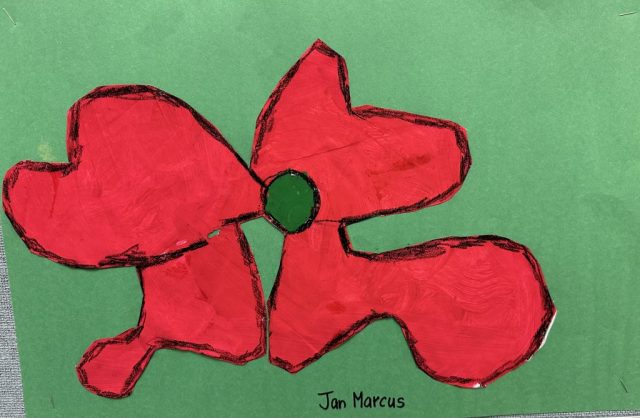
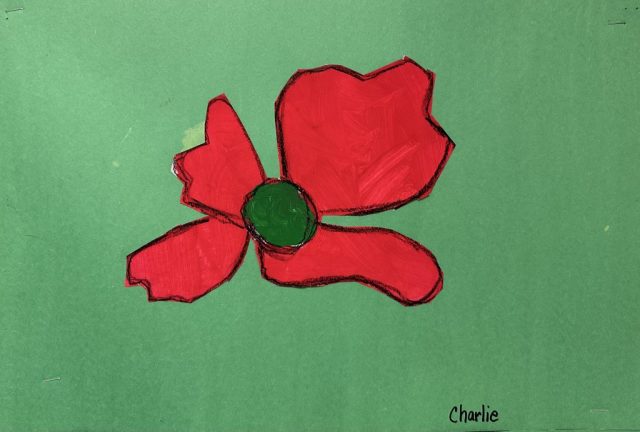
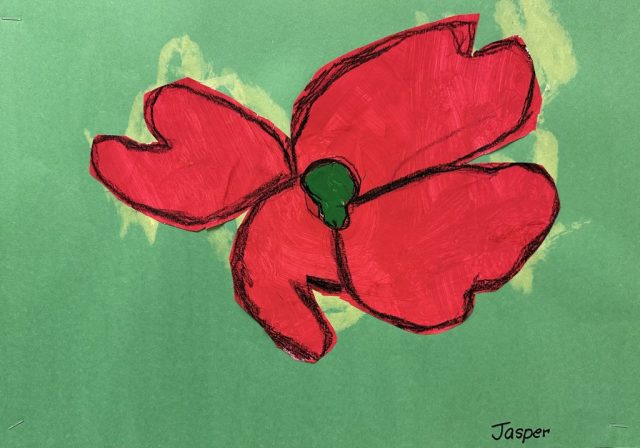
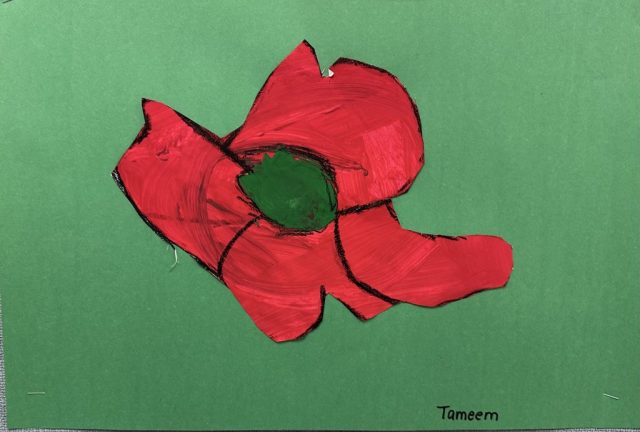
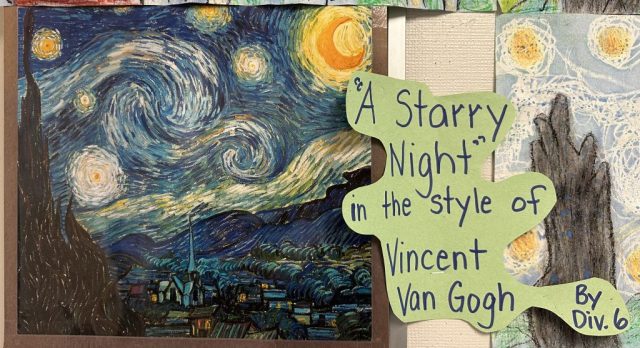
Picasso Abstract Faces

We looked at some art pieces by Pablo Picasso and read a story book about a period of his life called, “Pablo Picasso and the Girl With the Ponytail”, by Laurence Anholt.

We then created our own ‘abstract’ faces on tag board, initially with pencil and then traced with black Sharpie.  We worked through the sections together as a series of directed drawing lessons.  We incorporated eyes, eyebrows, noses, mouths, cheeks, necks, jawlines, hair, and head dresses.  Felt markers were used for the parts that we wanted to be emphasized (for the ‘pop’).  Background areas were shaded in using pencil crayons or waxed crayons.


Here are the finished pieces which are posted on the bulletin board in our classroom:


Our Snow Families


We have completed our long and detailed art project.  It was many steps over several days.  First we painted blue backgrounds.  Then we added tissue paper and glitter snow along the bottom. Painted balls were then placed to represent the members of our immediate families. Foam board was used for the accessories of hats and scarves. Permanent markers for small details – eyes, arms – were used. At the end we added more tissue paper snow to the bottom and placed snowflakes in the sky.  Our family names were mounted on foam board and attached.  They look great!


Poppies in the style of Georgia O’Keefe

We created our lovely small poppies for our Remembrance Day wreath. The outer rim are our traditional poppies, and the inner ring are from a design created by Robin Roberts, an Indigenous artist of Tsimshian, Haida, and Squamish ancestry. It will be presented at our Remembrance Day assembly tomorrow morning.

We then had a directed drawing lesson on a single poppy filling a huge paper, much as Georgia O’Keefe did with much of her artwork. Students went over their pencil lines with china grease markers and filled the centres with oil pastels.  The petals were painted with red tempera paint. Once dry these were cut out and glued onto green construction paper.


Primary Colours Create Secondary Colours

Students were given paint palettes with three colours of paint – red, blue, and yellow. The instructions were to paint any picture they wanted but they needed to show six colours – both primary and secondary colours. To be fair, they mostly made ‘intermediate’ colours as the colours they created were most likely not of equal amounts of primary colours. Most students managed to make secondary colours (orange, green, and violet).  Some people discovered what happens when they mix too many colours –  they get brown.


The Elements of Art


On Wednesday we had a lesson, and discussion, on what are the ‘elements’ (foundational parts) of art. These are noted above.  Most are fairly obvious such as: colour (those found in the rainbow – red, orange, yellow, green, blue, indigo, and violet 🌈); line (curved, straight, or angular); shape; and form (3-D objects).

Texture is the way something feels, or the way it looks like it feels. Value is the lightness or darkness of a colour by either adding white (to make a tint) or black (to make a shade). A value is also black and white and all the gradients in between. Students learned that black, white, grey, and brown are not true colours.

We used a variety of  ‘shading’ waxed crayons, and rubbing tiles or templates, to create these lovely pictures.  You should be able to see all the elements of Art, in each picture, with the exception of ‘form’.


Every Artist is Unique …

We looked at a variety of prints of famous painters’ works.

Camille Pissarro

August Renoir

Paul Cezanne

Claude Monet

Vincent Van Gogh

Henri Matisse

Pablo Picasso

We discussed how the paintings are different and how they are the same. It was noticed, by the children, that while they all have at least one tree in their painting, they are all different versions, techniques, and styles of trees. Students then used waxed and pencil crayons to create their own ‘unique’ pictures.  They all needed to include at least one tree … everything else was up to them.  Here are the marvellous results:


Our Community Grid

We started with a large piece of white roll paper divided into 24 six by nine inch tiles.  These all had mapping coordinates on them – A1 through to D6.  Heavy tag board tiles were cut to these measurements.  These were temporarily taped together so the grade twos could draw on the basic structures of roadways, parks, and the school site.

Each student then chose their tile as their name was pulled from a box. Two students were then pulled for the extra two tiles.  Then the individual work began.  Plasticine was used as ground cover – grass, cement, or asphalt for roads.  Students chose different structures for their site. When these were all in place, details were added such as trees, stop lights, flagpoles, etc.

Side view photos in three sections for close ups:


And one from the other end …

Five classes came and viewed our work this afternoon.

Well done, everyone!!