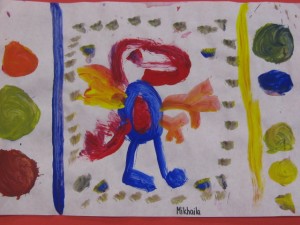
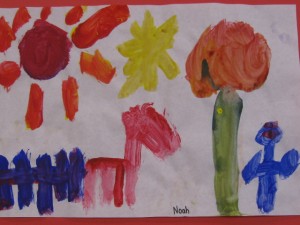
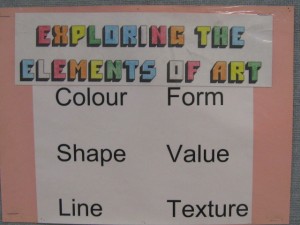
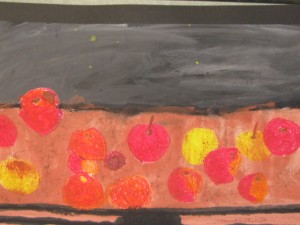
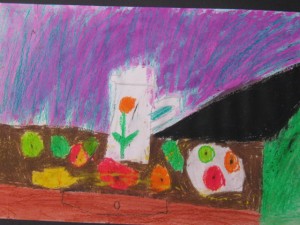
We have been learning about one of the elements of art – colour theory. Students were directed to use only the three primary colours – red, yellow, and blue – to create the three intermediate colours – orange, purple, and green. Students began by creating a design of a variety of shapes with a felt marker. They then filled these shapes in by blending the primary colour wax crayons to create the intermediate colours. They experimented with differing degrees of pressure (for darker and lighter hues) and different amounts of each primary to create a variety of shades and tints.
Category: Art Programme
Class Assignment Expectations
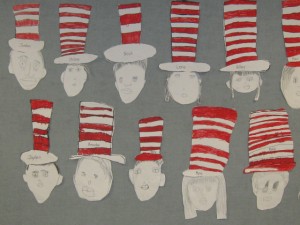
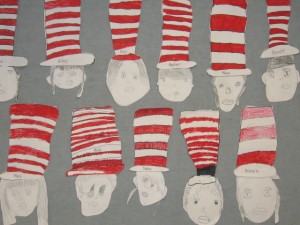
When students are doing their ‘seatwork’ assignments there is a wide variety in the final outcome of what each student will produce. There are, of course, different learning outcomes for different subject areas; just as there are different levels of expectations for each grade. I use this visual to explain the difference between a minimal effort and one that has met all the expected criteria. This idea is used for all areas of our curriculum – not just their artwork – and visually demonstrates what is meant by including ‘details’. For artwork they can see what is meant by ‘details’ through the gradually more developed pictures. In their written work, students are reminded that ‘details’ are the way their writing has answered the reader’s questions of ‘who’, ‘what’, ‘where’, ‘when’, ‘why’, and ‘how’.
Texture – An Element of Art
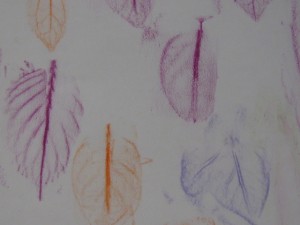
In our continuing lessons on the Elements of Art we have recently been exploring ‘texture’. Texture is how something feels – or how it looks like it feels. Students spent some time practising with various everyday items and doing crayon rubbings. They then created pictures which they segmented and coloured using differently textured plates to create the illusion of different surfaces.
Easter Craft Fun!
Students have been learning some valuable skills this week. We began by learning weaving for our Easter baskets – and also braiding for pipe cleaner handles. We used yellow tissue paper which we collaged over styrofoam eggs. When we added the details they became these adorable little baby chicks.
We then took pipe cleaners, google eyes, and pom poms and created these cute little bunnies on another set of styrofoam eggs.
These will be placed amid a bed of ‘craft grass’ in their Easter baskets (maybe with a few chocolate treats). Ask your child which craft was the hardest to do. You may be surprised by their answer.
Happy Easter!!!!
The “Value” of Art
For our Art programme this year we have been studying the elements of art. We are currently exploring ‘value’. Students have learned that value refers to the varying degrees of ‘lightness’ and/or ‘darkness’ an object possesses. We began by choosing coloured construction paper and using a piece of white chalk and a black wax crayon to experiment with differing pressures to show the different values on the paper.
Students then used a piece of white paper and a black wax crayon to create a picture of their choice. The criteria was that they needed to show different levels of value – some parts of their pictures were lighter or darker than other parts. This resulted in a quite dramatic effect in their work.
Hopefully you will get a change to come by and check out the two bulletin boards outside of our classroom. They create quite a contrast between the colourful Monets and the monochromatic ‘black and white’ pictures.
Claude Monet – The Japanese Footbridge
Last week we took a close look at some of the paintings by a wonderful French Impressionist painter – Claude Monet. We saw photos of his actual garden in France (which has been maintained as a heritage site) and then we looked at a number of paintings that he did of that garden. Monet painted many pictures of the same scene at different times of the day to show how the light altered the look of the different paintings. Monet had a fondness for his pond with its water lillies – and, of course, his footbridge.
Students began with a simple pencil sketch of the bridge which they then went over with a thick layer of blue oil pastel. Using various colours of green oil pastels they then added a collection of trees, bushes, and shrubs on the sides of the ‘pond’ area and behind the bridge. They needed to colour the ones behind the bridge in between the bridge supports and not colour on top of the blue bridge. The last part that students used the oil pastels for was the addition of green lily pads with coloured lillies attached. Students were encouraged to add one white lily even though this was hard to see on the white paper.
The next day students did a paint ‘wash’ over the entire picture using either a light or dark blue paint disc. Students noticed that the paint coloured in between the oil pastels and did not stick well to the pastels. The overall effect is quite stunning – don’t you agree?