Let’s all stand up and sing together.
Click HERE to sing and move along with me.
Sensory Bins:
Here are some simple ideas to try at home.
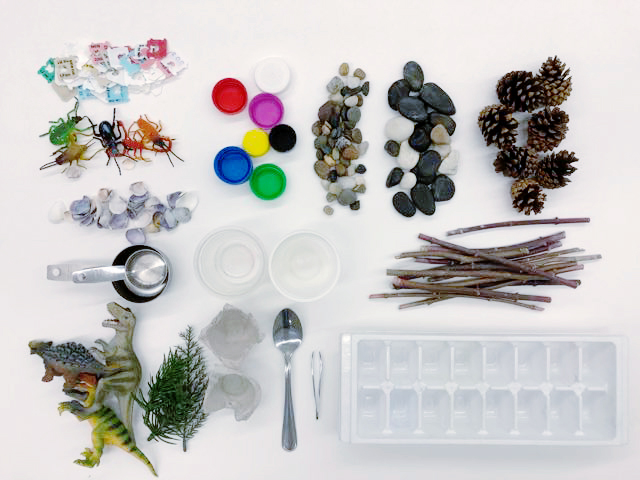
Use a large food container, a tray, shoebox, rubbermaid container or even a large stainless steel bowl.
Add some spoons, smaller containers such as medicine cups, laundry cups, cut up egg cartons, fruit/yogurt cups and lids. I’ve also added tweezers and measuring cups.
The ice tray is another great medium to add to promote sorting, classification, counting and pattern making.
Use natural materials such as pinecones, sticks, seashells and rocks.
Seashells, clasps from bread packaging, buttons, pompoms are other ideas to toss in for sorting.
Filler ideas for Sensory bins:
Small rocks – I purchased these from the Dollar store. Use larger rocks found on your walks or garden.
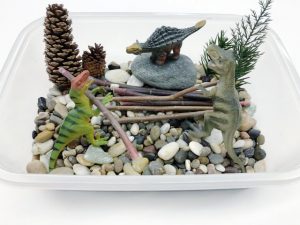
I added dinosaurs, pinecones, sticks and greenery to make this playscape. You can also use potting soil or sand instead of the rocks and add farm animals, bugs, small cars/construction toys to change it up.
Here I used black beans in one and corn kernels in the other. You can use these over and over, just make sure to store them in an airtight container/bag.
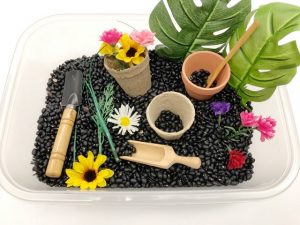
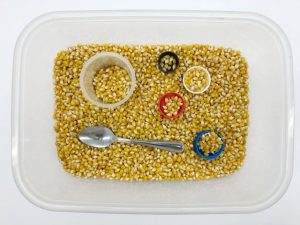
With the black beans, I added a scoop, mini gardening shovel, and a wooden spoon (all from the Dollar Store). These are a great investment as they can be used over and over for other activities. Add some paper pots and a mini clay pot with some artificial flowers and greenery for another experience. Giving children the opportunity to scoop and pour different types of materials helps with their fine motor skills and eye-hand coordination. If you come up with other ideas you’ve tried at home, please share!
Dearest Daddies,
May you have a wonderful, special day full of deserving love, hugs and adoration!

The job of being a parent is never ending but so gratifying at the same time. You get to witness your child as they learn, grow and thrive under your guidance, love and support.
Much love,
Ms. Elizabeth
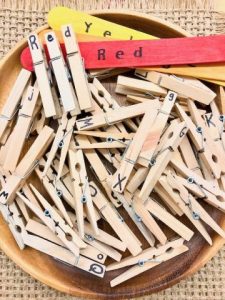
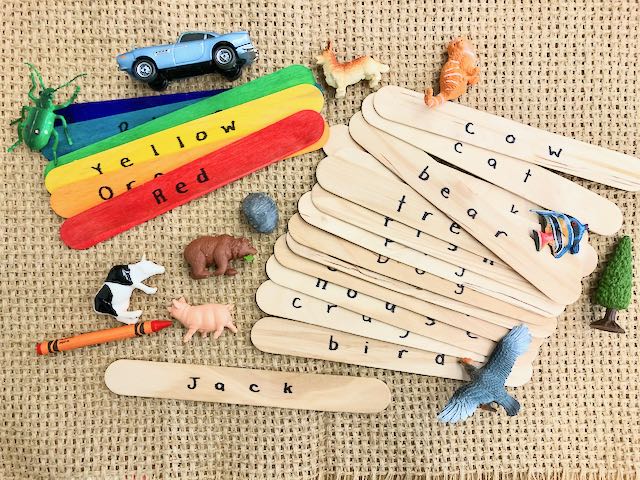
 Here is an easy homemade ABC activity made out of large popsicle sticks and clothes pins (items from the “Learning Materials,” Dollar Store post). This is a great activity for fostering letter recognition, vocabulary, eye-hand coordination and fine motor skills.
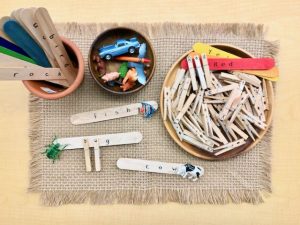
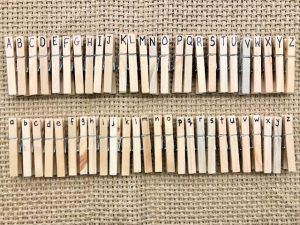 I wrote the “Lower” case alphabet on one side of the clothes pin and the “Upper” case on the other side.
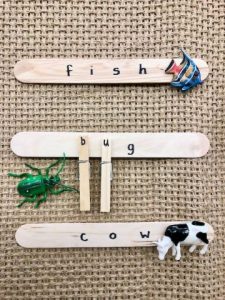
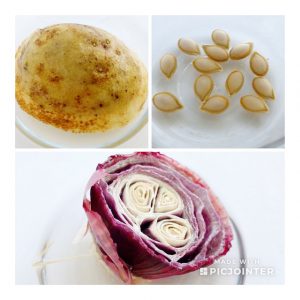
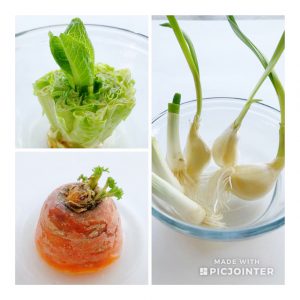
 Anita Olson –
  Think outside the box.
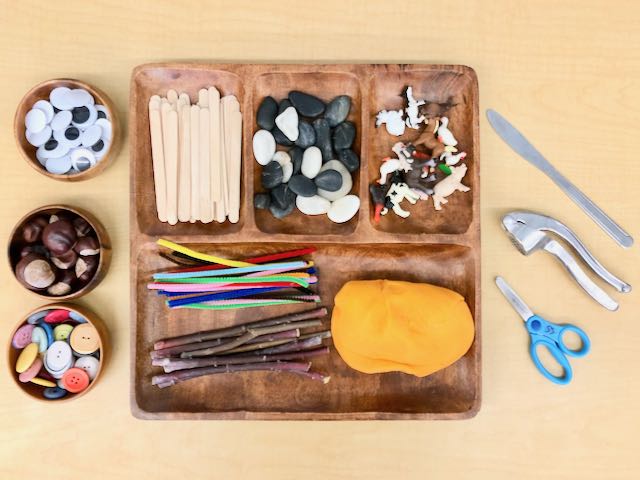
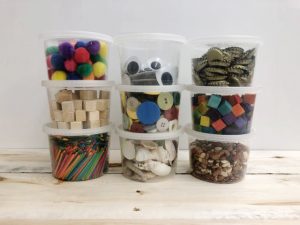 You may recognize these materials in the containers. These are just some of the ones used in our StrongStart classroom. Majority of these are from the Dollar store as well: pompoms, assorted sized googly eyes, bottle caps, wooden cubes, buttons, coloured matchsticks, seashells and dried beans. I stored these materials in recycled take-out containers for easy access. Please keep in mind, smaller items are a choking hazard and always supervise your child when using these items.
  few you can start collecting. Make sure they dry out properly before storing in containers and then they can be kept for years.

 fulfil. You are a protector, nurturer, cooker, teacher, healer, comforter, motivator, multitasker, peacemaker, cheerleader, defender and provider of all things. You love unconditionally and always put your child first.
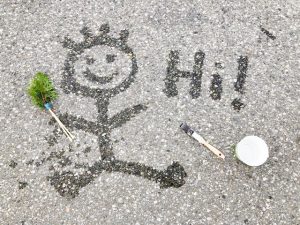
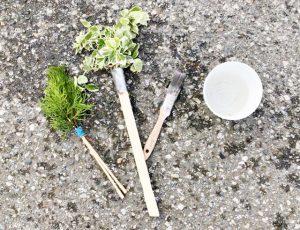
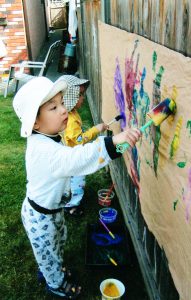 On those sunnier days, tape some paper onto a fence/wall, or use the sidewalk and let your child paint. You can try newspaper, packaging paper or the back of wrapping paper for a larger painting surface. These were my 2 boys painting outside when they were preschool aged. It was a great way to get them outside and let make a mess where it was easy to hose down for cleanup!