I am so excited to share a creative and fun way to make your own bubble wand. Teacher Beth, the wonderful StrongStart Educator from Second Street Community School made a video about these bubble wands.
Click on this link for Blowing bubbles with Teacher Beth.
Supplies to make this special bubble wand: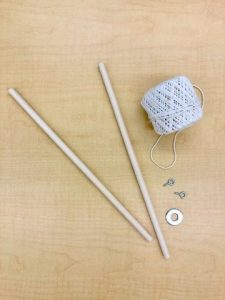
Two sticks or dowels ( purchased dowels from Dollarama – package of 6)
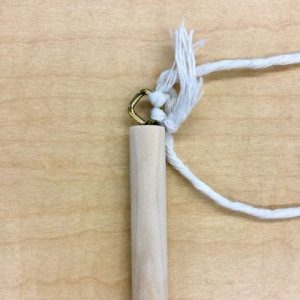
Two eye hooks – attach to the end of the dowel to tie the strings through.
One metal washer – to use as a weight
String
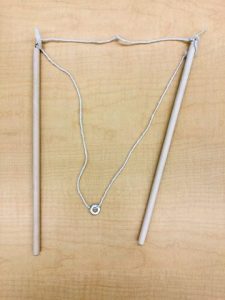
I hope you try making this bubble wand and blow some giant bubbles!
Community Resources from Anita Olson, an Early Childhood Community Consultant:
I wanted to share more information about the feelingsfirst.ca social emotional development campaign. Social and emotional development starts early. From recognizing emotions to just talking and hugging, small things make a big difference. You can follow this incredible group and gain such amazing information by following their social media;
· Instagram: @feelingsfirst.ca here http://instagram.com/feelingsfirst.ca
· Facebook: @feelingsfirst.ca here https://www.facebook.com/feelingsfirst.ca
· Twitter: @feelingsfirst.ca here https://twitter.com/feelingsfirstca/
· YouTube: Feelings First here https://www.youtube.com/channel/UCHmEbd76aF4HjAVmzSb97TQ
· LinkedIn: Feelings First here https://www.linkedin.com/company/feelingsfirstca/
Check out the attachment for the New Neighbours Podcast facilitated by Burnaby Neighbourhood House and Immigration Canada. This is a new project focusing on community voices including newcomers who have stories and cultural knowledge, music, information, concerns or life lessons they would like to share – no experience required! If you have something you’d like to contribute, contact duyt@burnabynh.ca or phone (604)-396-6955 and see how you can be a guest on the New Neighbours Podcast.
For More parenting information, children’s activities and self care ideas, make sure to check out The Parenting Place Blog below!
|

|
parentingplace – Medium
A resource for families focusing on activities for children, parent education and self-care. Our goal is to help strengthen the parent child relationship & ensure children are nurtured, youth find optimism, adults feel empowered and parents make choices that build strong families.
medium.com
|
Anita Olson (she/her) ECE, BA, MEd
Early Childhood Community Consultant
T 604 525 9144
M 604 723 9548
3rd Floor – 321 Sixth Street, New Westminster BC V3L 3A7
www.fsgv.ca


 Popcorn Kernels can be planted! Use the plain, loose popcorn kernels. These ones pictured are the no name brand from the grocery store. I used a clear container to plant the corn so that you can see the roots growing on the sides. I added a good few inches of soil and sprinkled the corn all over the soil. I planted the kernels quite close together so that it can look like grass as it comes up.
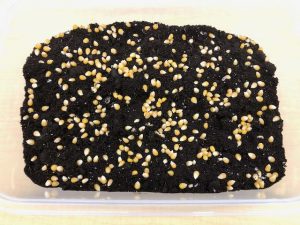 I placed the containter by a sunny window and made sure to water it. I gently placed the container lid on top to create a greenhouse effect, but this is not necessary.
 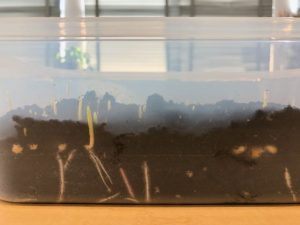 After 3-4 days, you can see the corn starting to root.
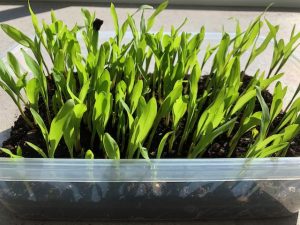
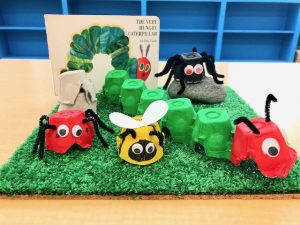
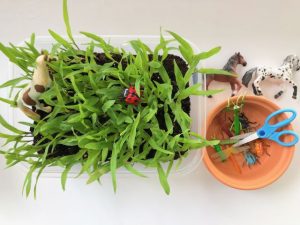 After two full weeks of growing, I added some animals and bugs to use as a playscape. Add a pair of scissors for your child to practice cutting each stalk. Try pulling an individual stalk out to measure the roots and height of the plant. What will happen if you continue to let it grow?
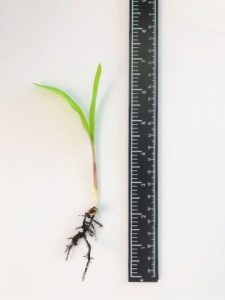 Maybe you can have your child draw the different stages of what they are seeing. Just brushing your hands over the growth feels cool too.
 the smile on your child’s face as they enjoy their favourite food. It can be a moment of cuddly time as you read to your child. The more we pay attention to all the good things happening around us….the better we’ll be for it.
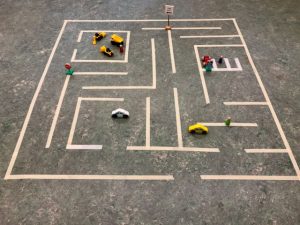
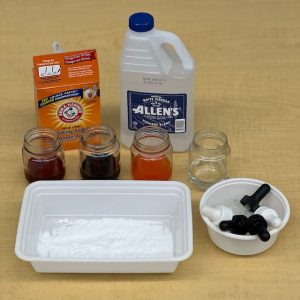
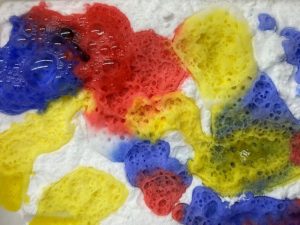
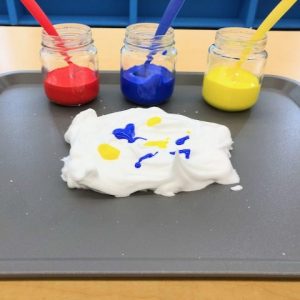
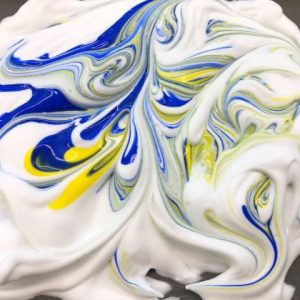
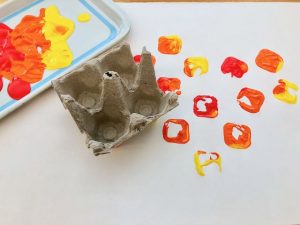
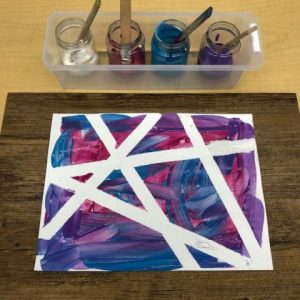
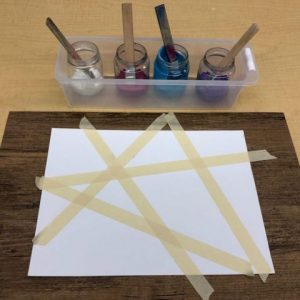 Let your child paint over the entire paper. When it is dry, slowly remove the tape to see what appears.
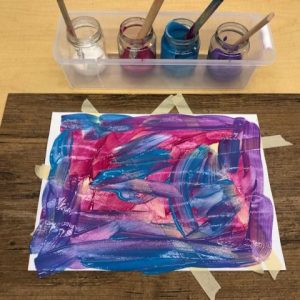
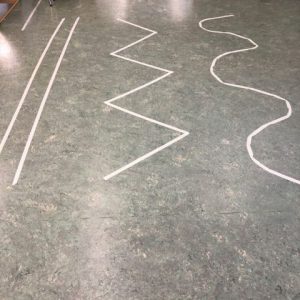 This is a great activity for gross motor play, balance and coordination skills. These lines can also be used to place “loose parts” such as rocks, pinecones, toy cars, animals, buttons, sticks and lids, just to name a few.
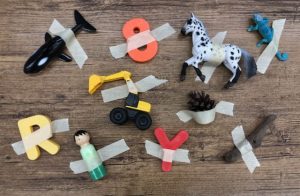 Let your child try and take the tape off and free the toys. This is a great one for young toddlers to practice their fine motor skills.
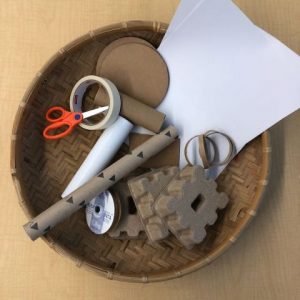 you may have and see what your child can create. Tape is a great alternative to glue. It encourages children to take their time to peel and stick and use their imagination to create 3-D art.
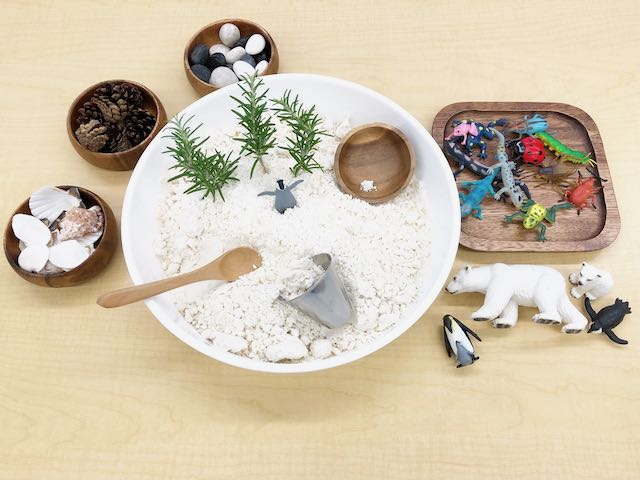
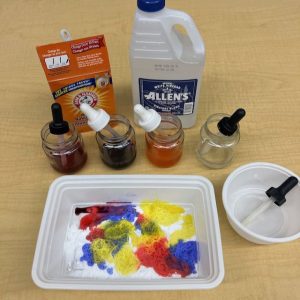
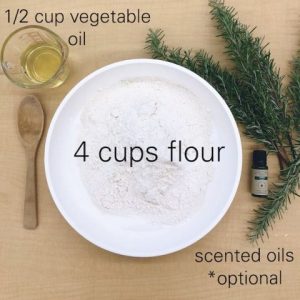 Two ingredients are all you need to make this wonderful cloud dough (scented oil is optional). I used a few drops of Rosemary oil in this recipe. This is a great recipe to get your children involved in measuring and stirring. Simply add the 1/2 cup of vegetable oil to the 4 cups of flour. Stir together until the oil is mixed in well.
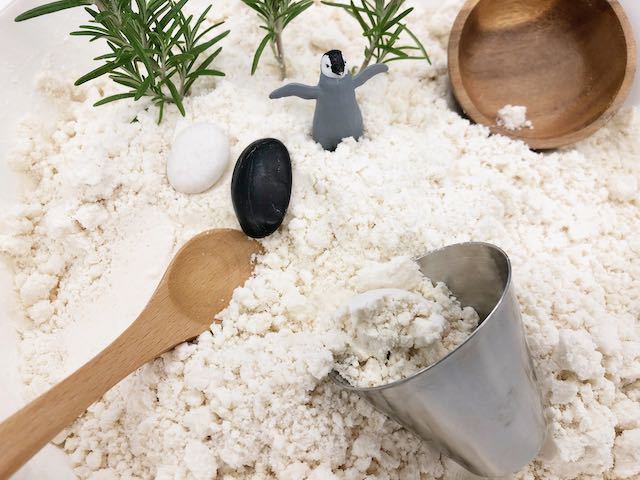
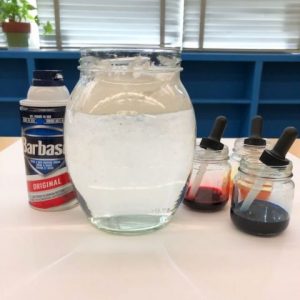
 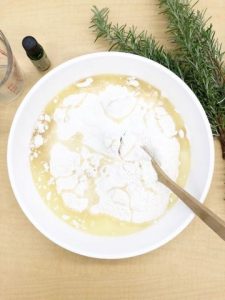 Once the oil is absorbed, start using your hands to finish blending in the flour and oil until there are no more lumps. You will end up with silky, soft and airy dough. This dough is different from the regular play dough. Yes, it is a bit more messy but the texture is worth it. You will love running your fingers though it. This dough will hold its shape when squished together or using moulds and can easily break apart.