2021-2022
Fox Masks
I’m very happy with Division 3’s fox masks! Everyone did a great job and worked really hard to do their best work. While the construction of the mask using a template and cereal boxes was a bit challenging, everyone managed to complete the construction and move on into the papier mache step. After 2-3 coats, students completed the final steps by painting with acrylic. Job well done!
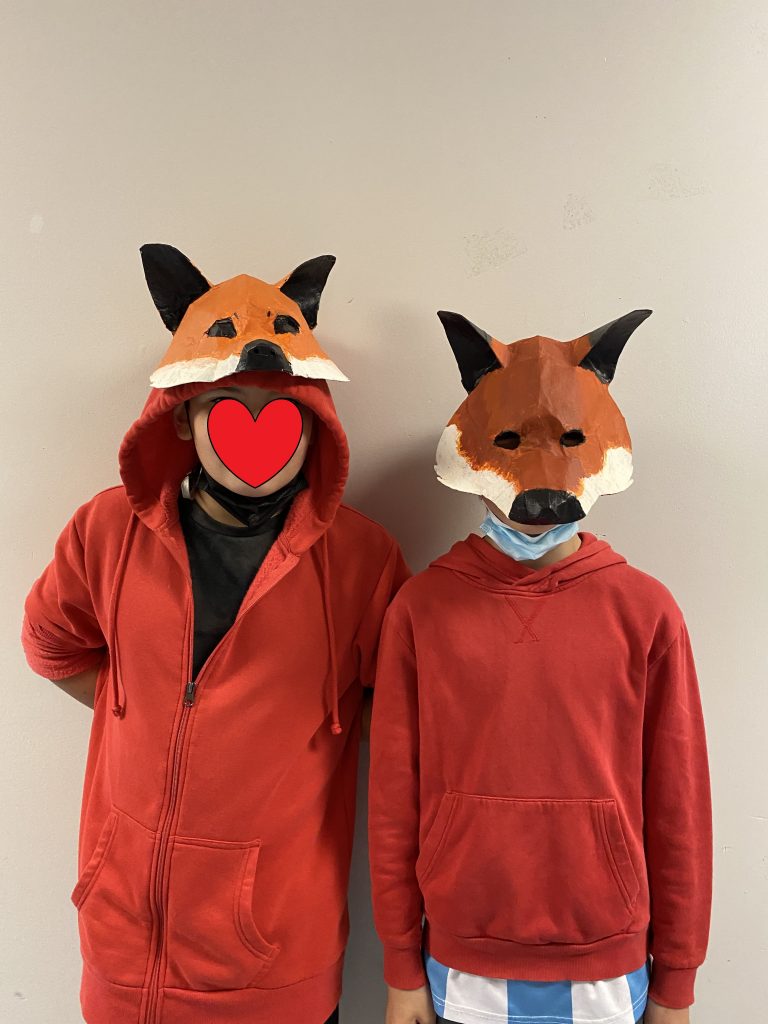
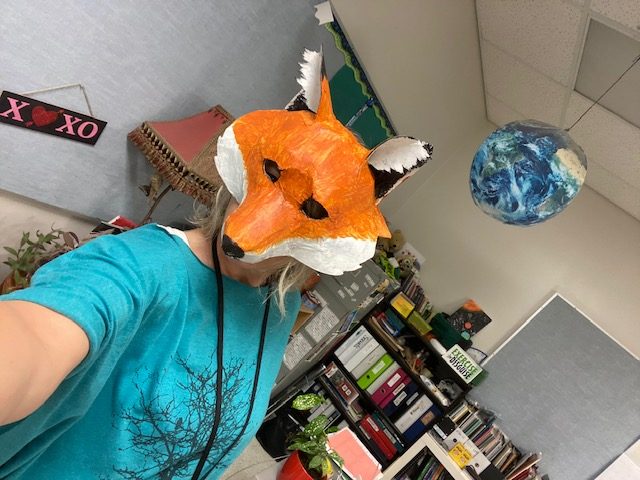
I did one too!
______________________________________________________________________________________
We’re ready for the next stage of our mask making!! Tomorrow we will begin to paper mache our masks. That means we will need newspaper for making strips. If you could send any extra newspaper to school tomorrow, that would be great. Also helpful, would be plastic containers with lids (for wet paper mache storage). If you have any larger containers that can be loaned for your child’s use at school, that would be helpful.
Paper mache can be very messy and requires great patience. Students should come to school with a smock or large button-up shirt (think ratty old plaid) that can be used like a paint smock.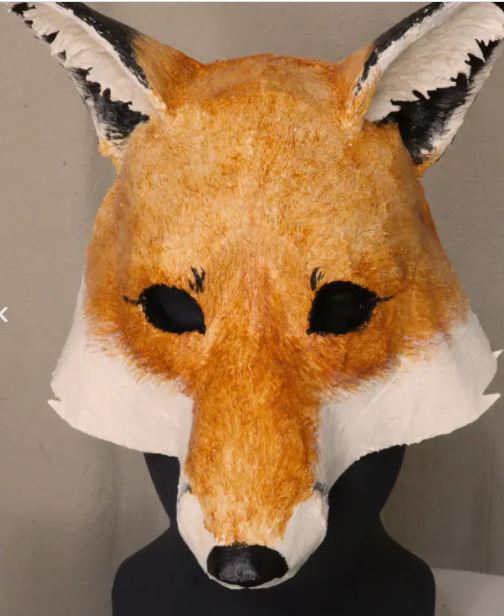
To view our process, please check the link. We are using the template from this Ultimate Paper Mache.
Starry Night
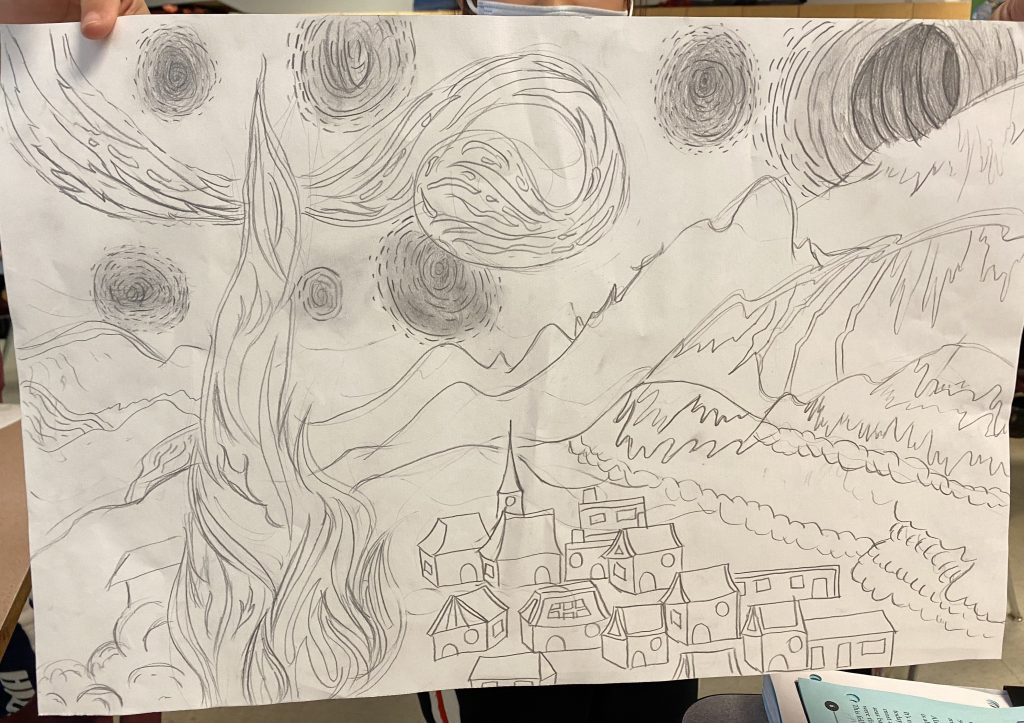
This term we are studying the life and art of Vincent van Gogh. Today, students began the sketch work of their first piece, using inspiration from Van Gogh’s Starry Night. I was so impressed with the level of interest and concentration applied to their work. Take a look at some of the beautiful samples of today’s work. I was very happy with the outcome!
To see individual pieces up close, click on the picture. Well done, Division 3!!
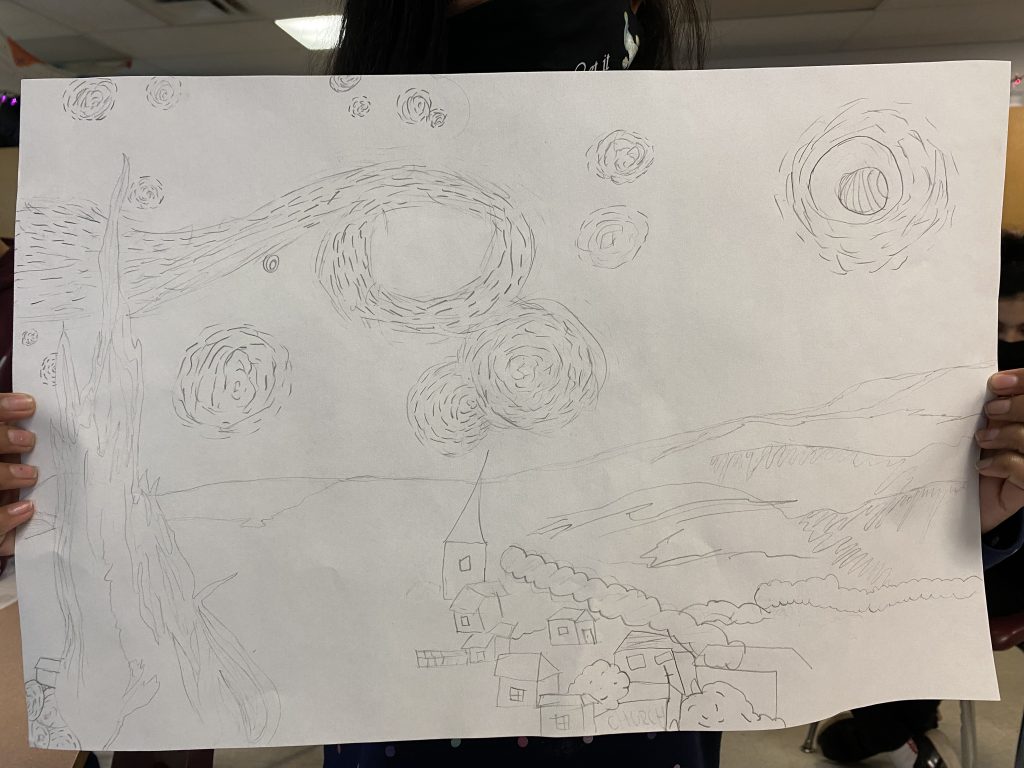
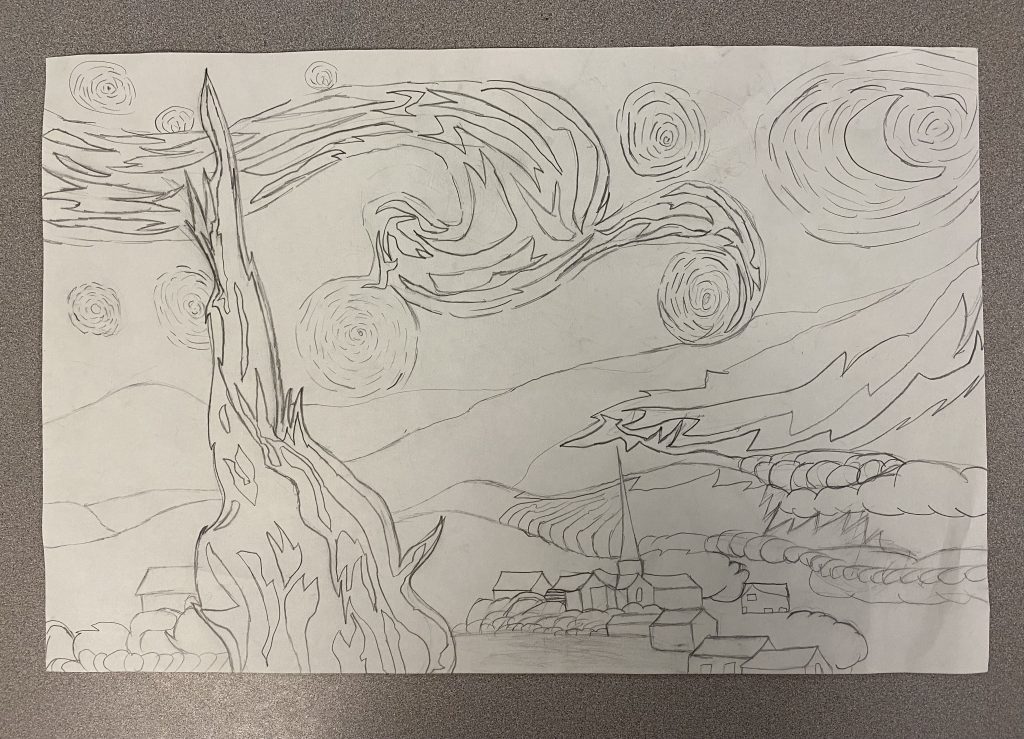
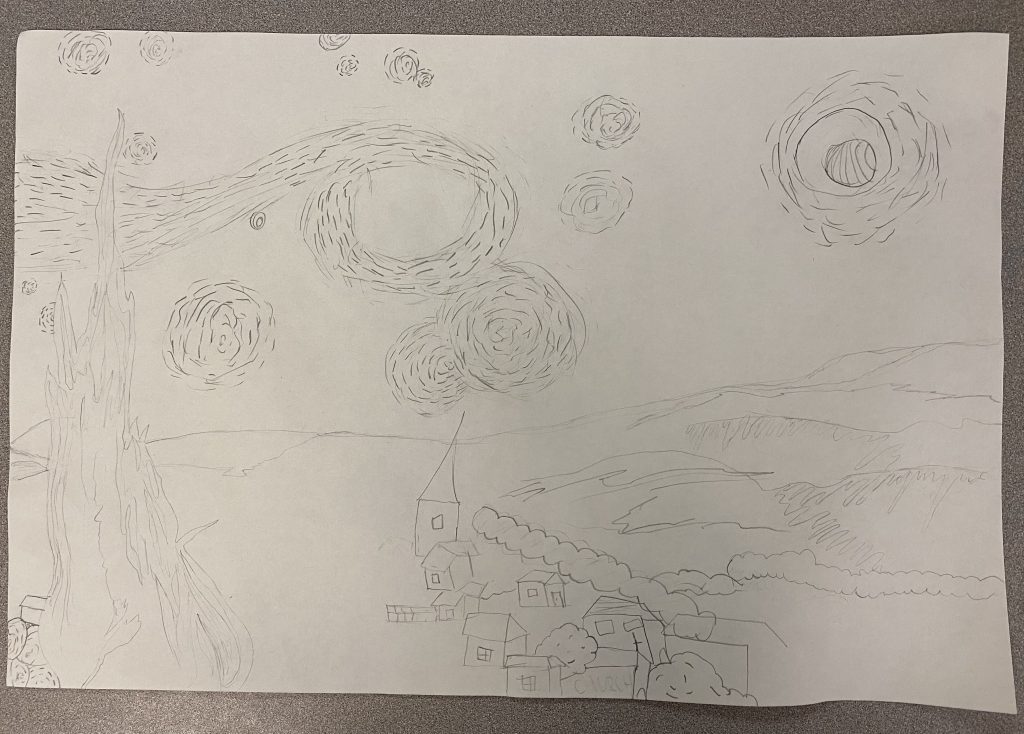
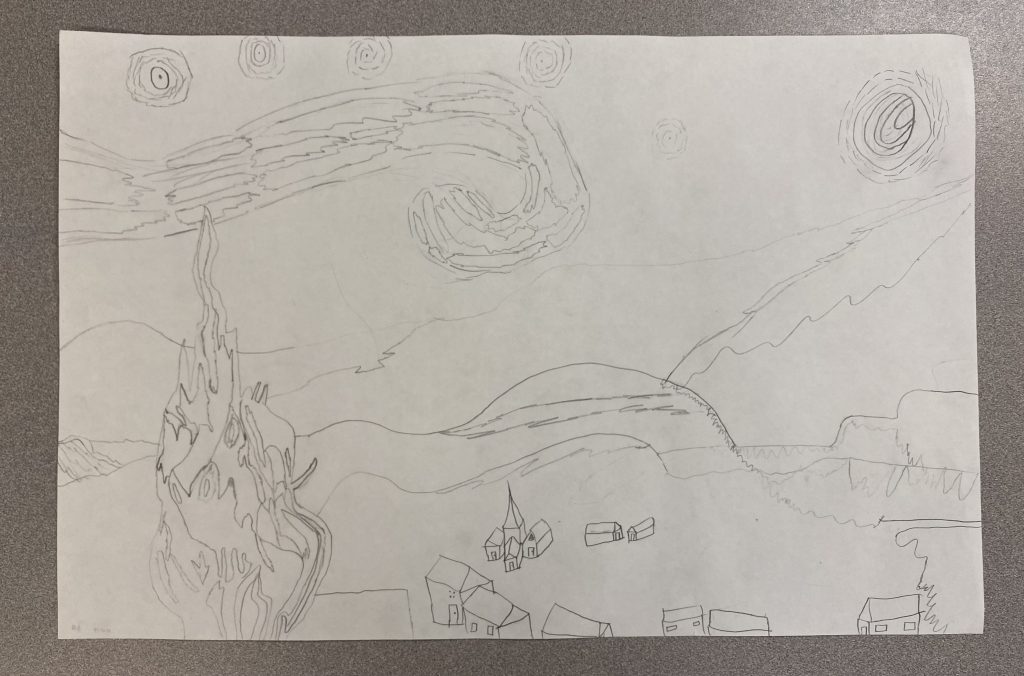
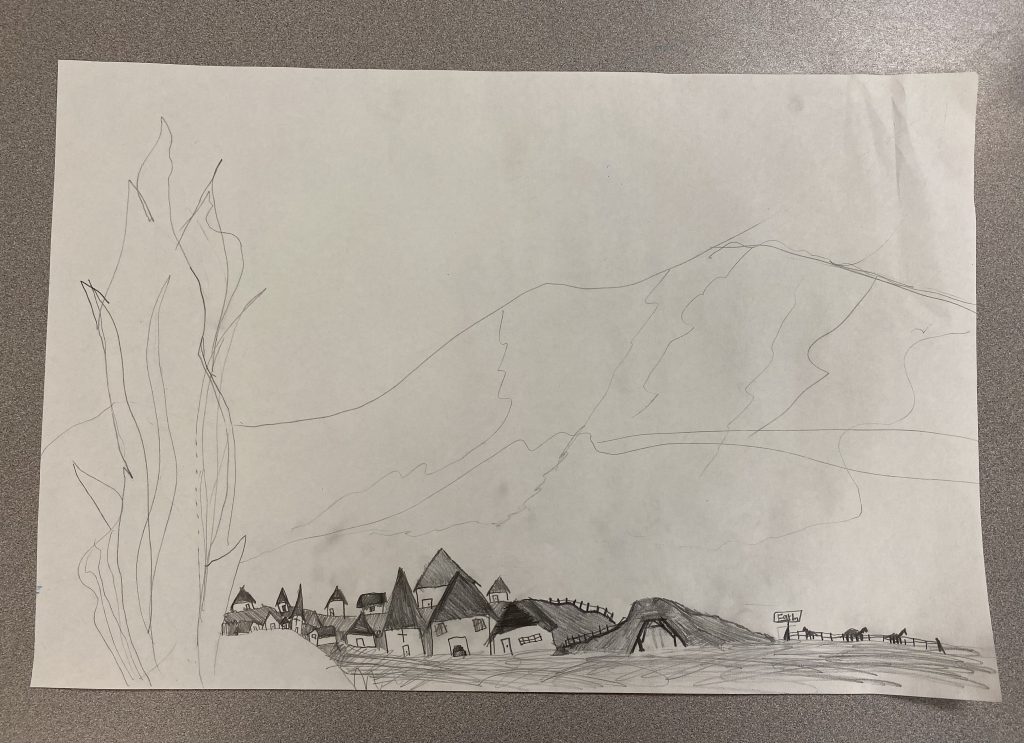
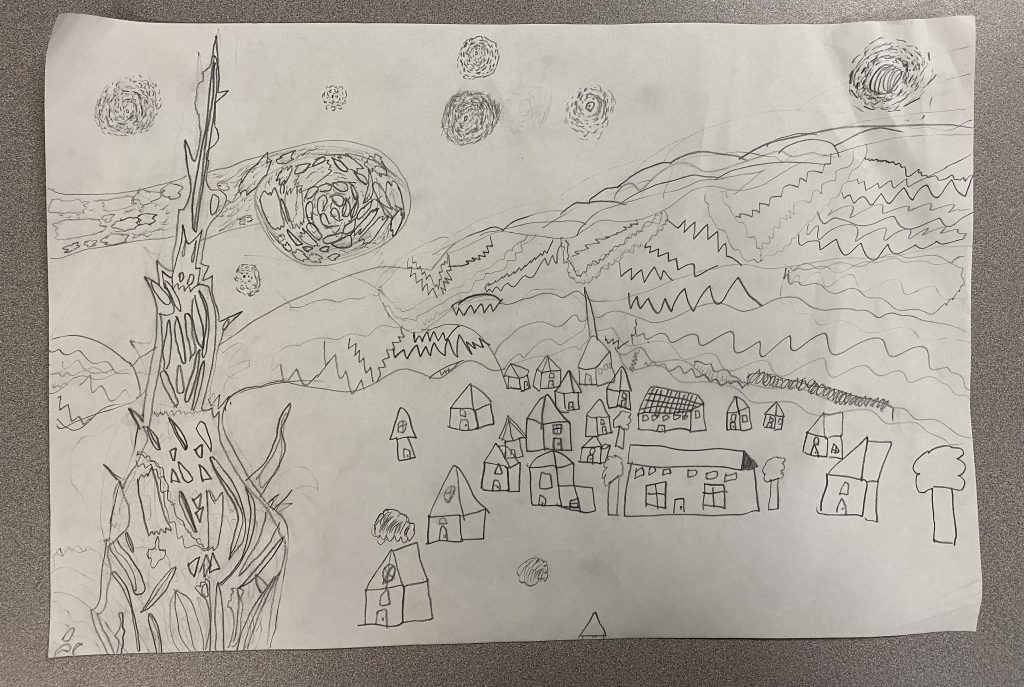
Next, we will begin to paint!
Van Gogh’s paintings are filled with colour, swirling images, and intense feelings. He is known for his rich in colour contrasts and impasto painting technique.
We have been learning about his use of impasto, as well as his use of hatch strokes and the rolling, pulsing motions of his paintbrush. Van Gogh would stroke the paint on the canvas with a knife or brush – almost like working with clay – the paint strokes forming marks with textures. We will be using coffee stir sticks (or thick stiff brushes) for that part! We added corn starch to our paint to make it thick and more clay-like, looking for that rough finished texture.
One way that van Gogh showed motion in his work was to make lines of colour spreading out into the background, swirling in concentric rings or circles. His paintings show rings of light surrounding stars in a nighttime sky or radiation on a hot summer day. The paint looks like ripples made when a stone is tossed into a still puddle.
I’m excited to get to this next part!! (Next week). Stay tuned…
2020-2021
Still Life
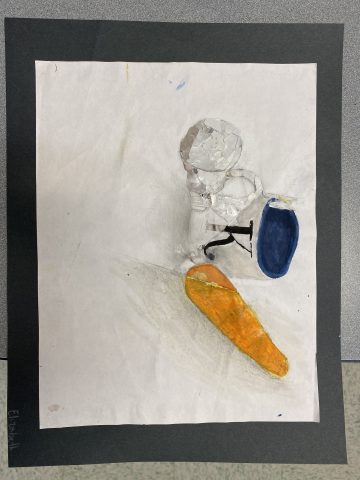
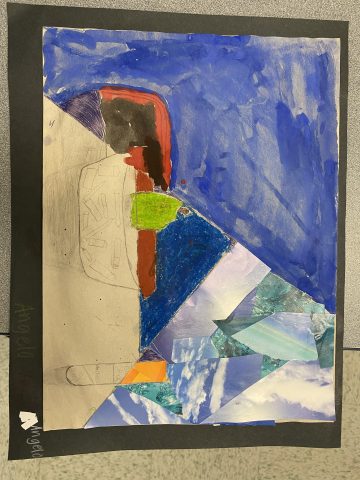
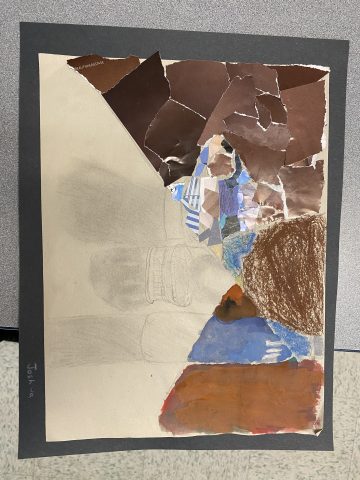
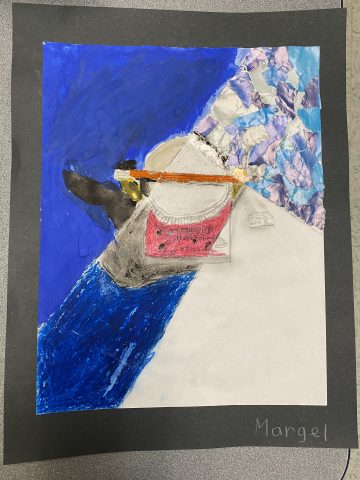
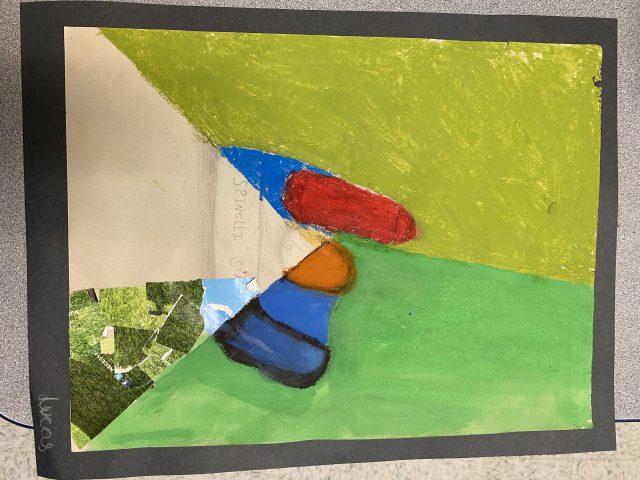
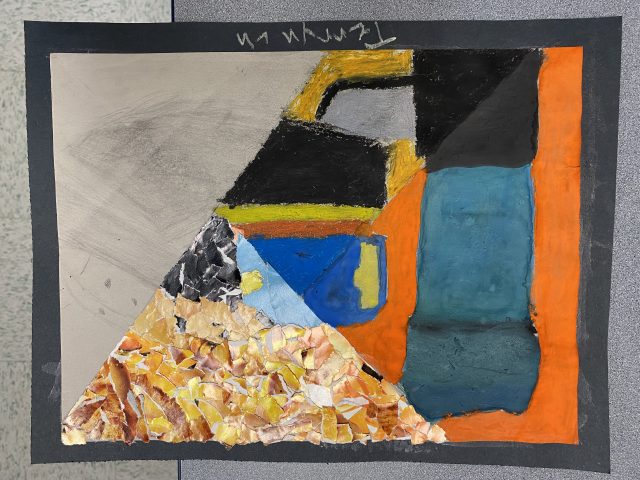
In this art project, students practiced four different forms of media-art for Still Life, which can be described as, “…a painting or drawing of an arrangement of objects, typically including fruit and flowers and objects contrasting with these in texture, such as bowls and glassware”. (Oxford Dictionary)
Students chose four objects to sketch, then later divided their work into four sections in order to highlight the different media used to portray their work. They sketched with shading and used oil pastel, water colour and mosaic to add colour to their art.

______________________________________________________________________
2016-2017
We’re doing PAPIER MACHE!
So much fun; so much mayhem! Watch our progress…
Painted!
Day Six:
- Add a second coat of paint. Student mixed their own brown again.
Day Five:
- Sand it with sandpaper to smooth it out.
- Paint your first layer of paint. Students created their own shades of brown and made it using red, green, and yellow paint. The shades turned out wonderfully!!
Day Four:
- Cover with additional layers to strengthen
Day Three:
- add egg carton ears and nose (tape or staple)
- Cover again with at least one layer (preferably 2)
Day Two:
- We added a couple more layers…
Day One:
- Complete 2 layers of papier mache on a balloon.
- Let dry.
The Goal:
We’re hoping to make cultural bear masks since we’ve been learning about bears and the importance they hold in First Peoples’ cultures here on the west coast. Here are some masks we’ve been looking at:
The bear is a link between human and nonhuman animal realms … the natural realm and the divine or supernatural.
______________________________________________
2014-2015
Our Weaving Tree is complete! Yay! Students had fun working together to weave unique pieces of art that you could not predict the final shape of! Some people worked alone, some worked together to join their various pieces. I wove too!
We wove to music and wove in the woods with just our thoughts and the sound of the wind. In the end, we put all our pieces together having NO IDEA what it would look! When we finally lifted it off the couch, with many helping hands, I wasn’t sure where we were going to put it. We placed it against the wall and found some cinder blocks to put it in. And voila! We grew a tree!
____________________________________________________________
Hey Folks!
Today we started our weaving project! I’m excited to see what kind of art comes out of this. Here are some more pics to inspire you!
This term (T2), we’ll be exploring another artist… someone more contemporary and LOCAL to our area! I’m pleased to announce that local author and artist (and weaver) Sharon Kallis will be visiting our school to share with us her experience as a local artist working with unwanted natural materials (A.K.A Invasive plant species that get pulled and would otherwise be trashed). Please visit her website for more information on all that she does!
We’ll be working on our weaving skills and hope to put together a whole class art installation – either attached to our chain link fence at Armstrong, or a more mobile piece that can be displayed elsewhere. I’ll be keeping our progress on this project up-to-date here on this webpage.
Ps. a field trip to a local park to pull some weeds (in other words, to harvest our art materials!) will happen in the coming weeks… STAY TUNED!
Sharon Kallis’ website
___________________________________________________________
We’re finally finished, and Division 2 did a FANTASTIC job! People around the school keep saying what fabulous artists we have here at Armstrong. We’re all impressed! Well done!
We talked about our Artist’s Statement today. Here are some ideas I gave you for this piece of writing:
Q. How is this piece inspired by Peter Max? – What piece did you borrow? What colours and/or shapes did you use that he likes to use? Think about placement (moving or introspective) and use of cultural icons.
Q. What does your piece portray? (what’s it mean, what are you trying to say?). Again, look at movement, introspection, cultural icons.
Q. What are you trying to communicate? What feelings might there be? Is there a personal connection?
Some pictures from our “artist in residence”, Ms. Parsonson! She came in and did a couple lessons to help us with our painting and placement of supplemental shapes.
Remember: along with your completed artwork, you will also need to submit an Artist’s Statement. I know you’ve already begun to think about what the shapes, colours, and placement of things mean; it’s a good idea to begin writing these thoughts out. One more class and your works of art will be due (end of next week).
We’ve begun our Art unit with a study on Peter Max, well-known illustrator and artist who got his start in the 60’s using bright and vibrant colours, symbols which spoke to this era, and whose style became iconic of the times.
Check out his official website. Here
Leave a Reply